
iOS ≥ 13.1 Using the “Shortcuts” Automation Feature with Mi Home Smart Devices
Use the Built-in Shortcuts App in iOS ≥ 13.1 to Complete Automation Tasks Directly
Introduction
In early July this year, I bought two smart devices: the Mi Home Desk Lamp Pro and the Mi Home LED Smart Desk Lamp. The difference is that one supports HomeKit, while the other only supports Mi Home. At that time, I wrote an article titled “Smart Home First Experience — Apple HomeKit & Xiaomi Mi Home” explaining how to set up smart functions for leaving and arriving home without a HomePod, Apple TV, or iPad. The steps were a bit complicated.
This time, iOS ≥13.1 (note that automation is only available from version 13.1 onwards) has built-in support for automation in the Shortcuts app (if you can’t find it, please download it from the Store). If you used IFTTT or Mi Home before, now you no longer need to rely on third-party apps!
[p.s If you have a HomePod, Apple TV, or iPad, you don’t need to read this article; just set up the device as a home hub!] (/posts/zrealm-robotic-process-automation/apple-homekit-xiaomi-mijia-smart-home-setup-step-by-step-guide-for-beginners-c3150cdc85dd/)
Achieved Effects
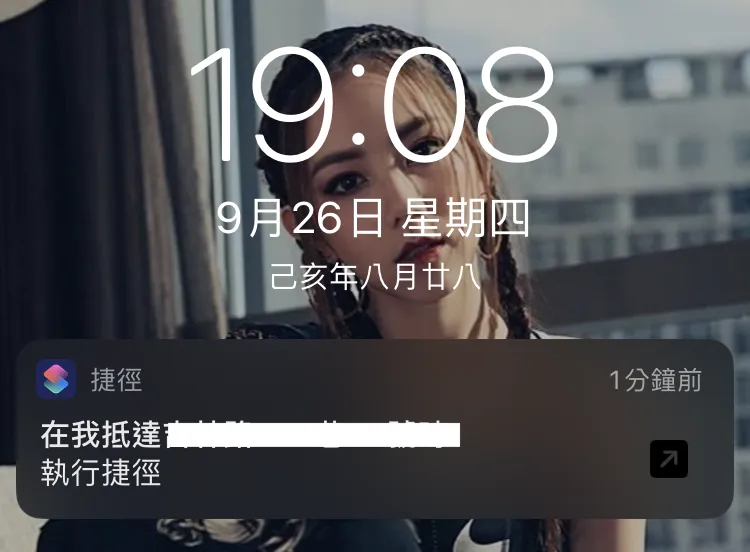
You will receive a notification from Shortcuts when entering or leaving the set area; tapping it will automatically execute the action.
How to Use
1. First, open the Mi Home app
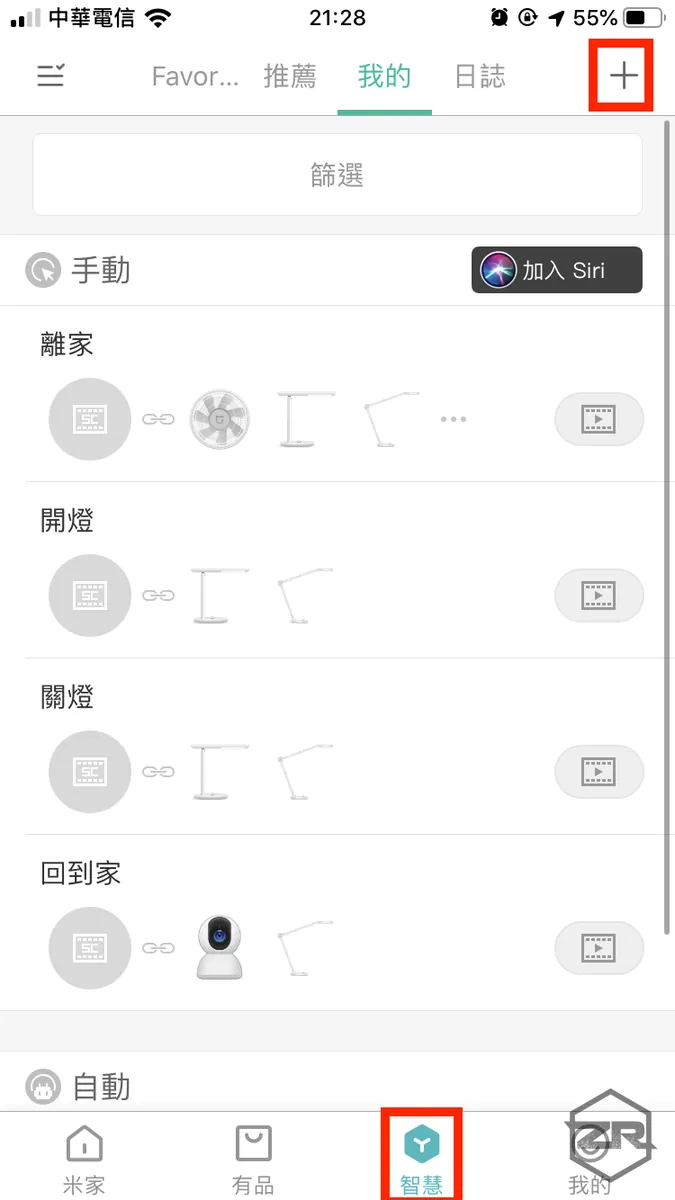
Switch to “My” -> “Smart”
This assumes you have already added the devices to Mi Home.
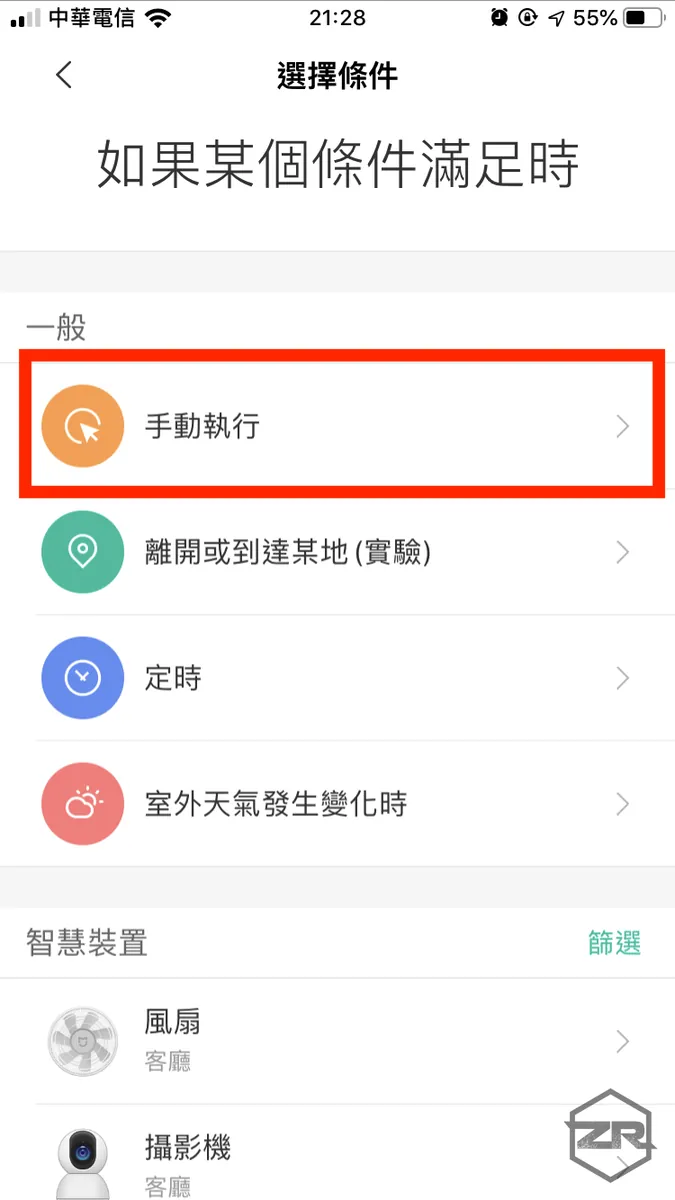
Select “Run Manually”
Here, let’s mention again why we don’t use Mi Home’s “Leave or Arrive at a Location” directly. First, GPS in Mainland China has offsets, and Xiaomi hasn’t fixed this. Second, it only allows setting locations with landmarks on the map, but Gaode Map in Mainland China has very few landmarks in Taiwan.
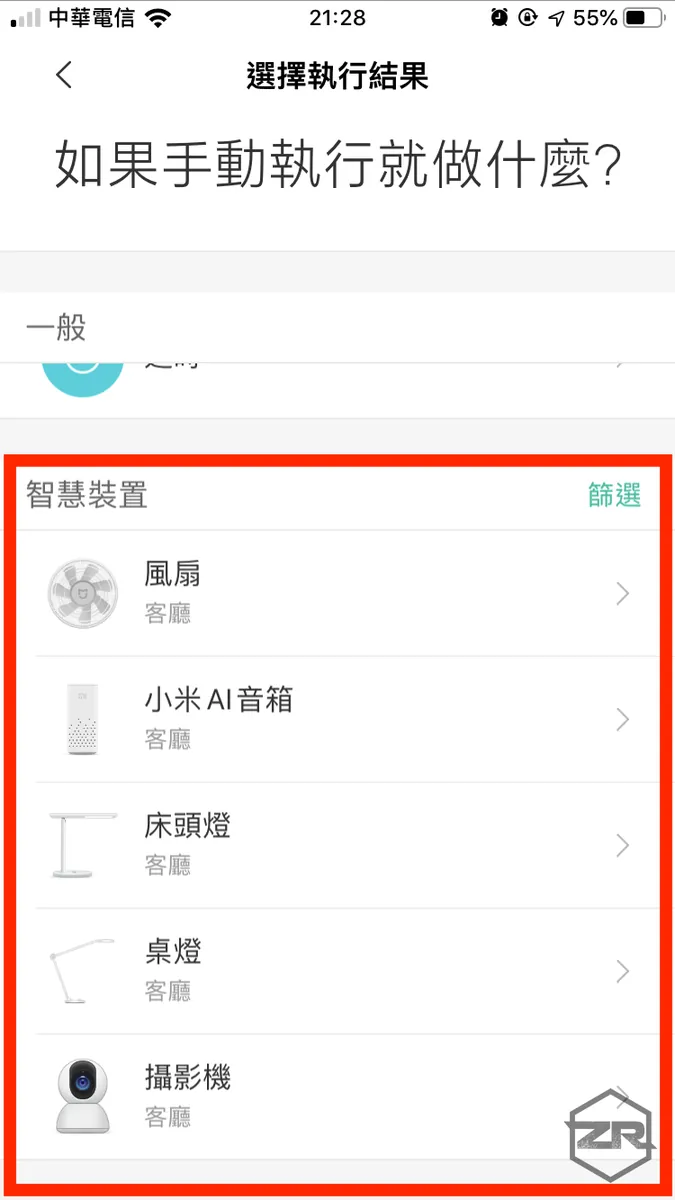
Scroll down to the “Smart Devices” section, and add the devices and actions you want to control.
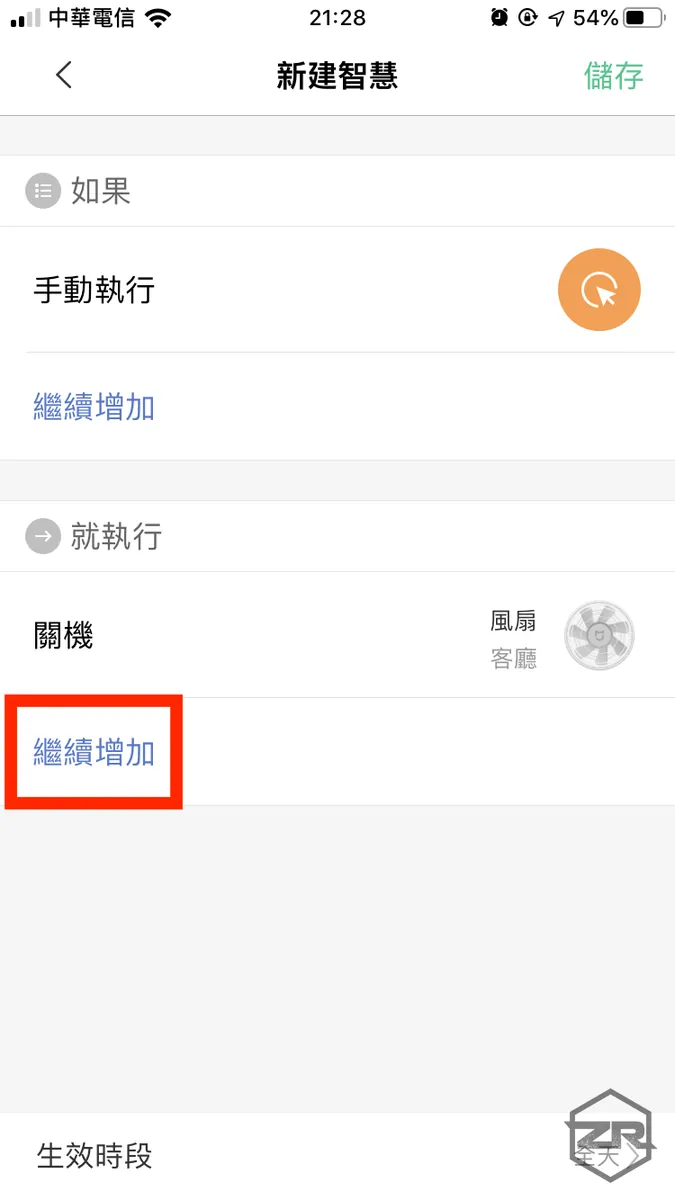
Click “Continue Adding” to include all devices you want to control
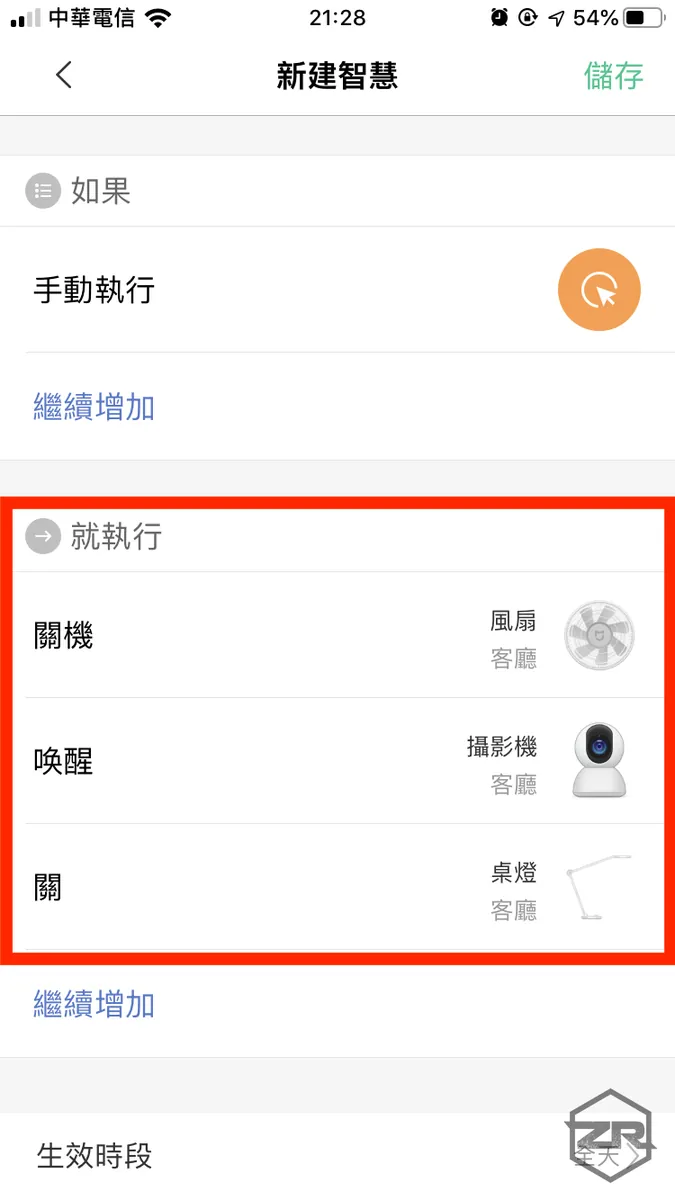
The example uses the “Leaving Home” mode. When leaving, I want to turn off the fan and lights, and turn on the camera.
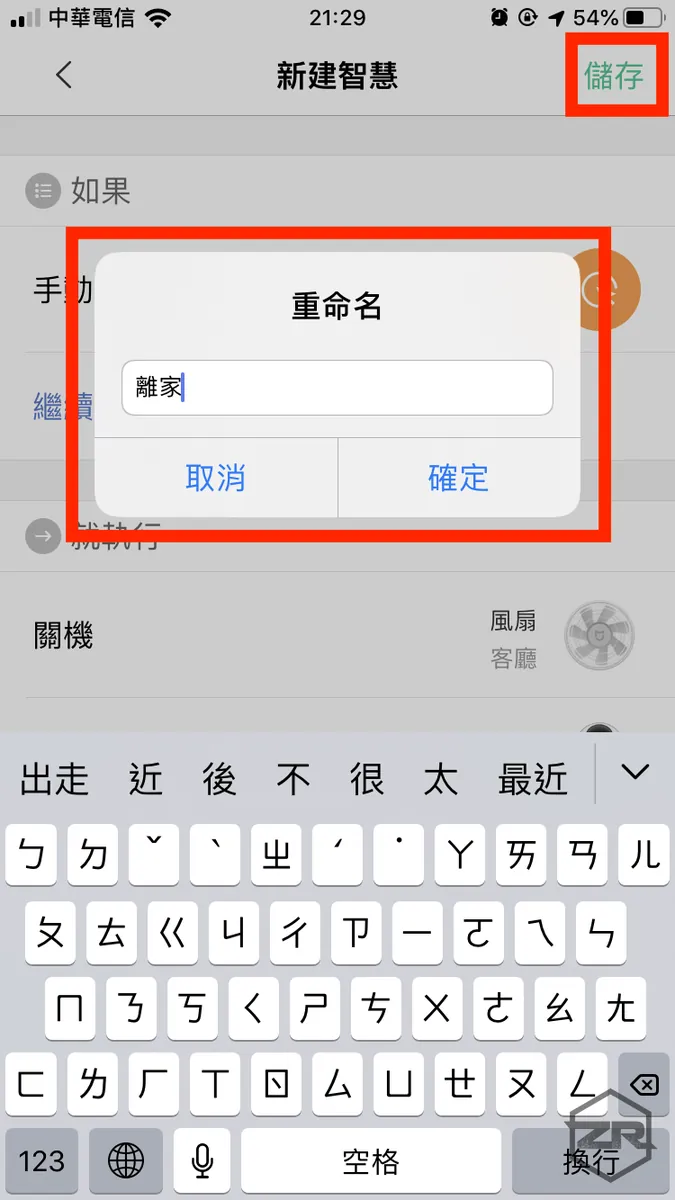
Tap the top right corner “Save” and enter the name for this smart action
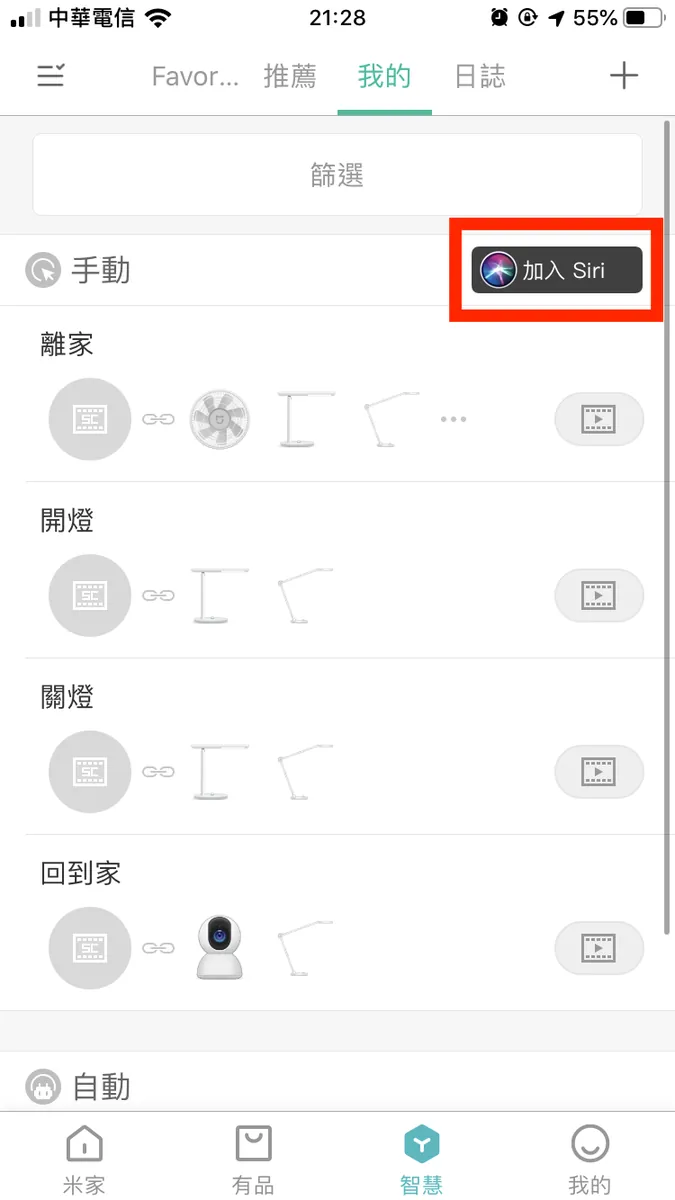
Back to the list, tap “Add to Siri”
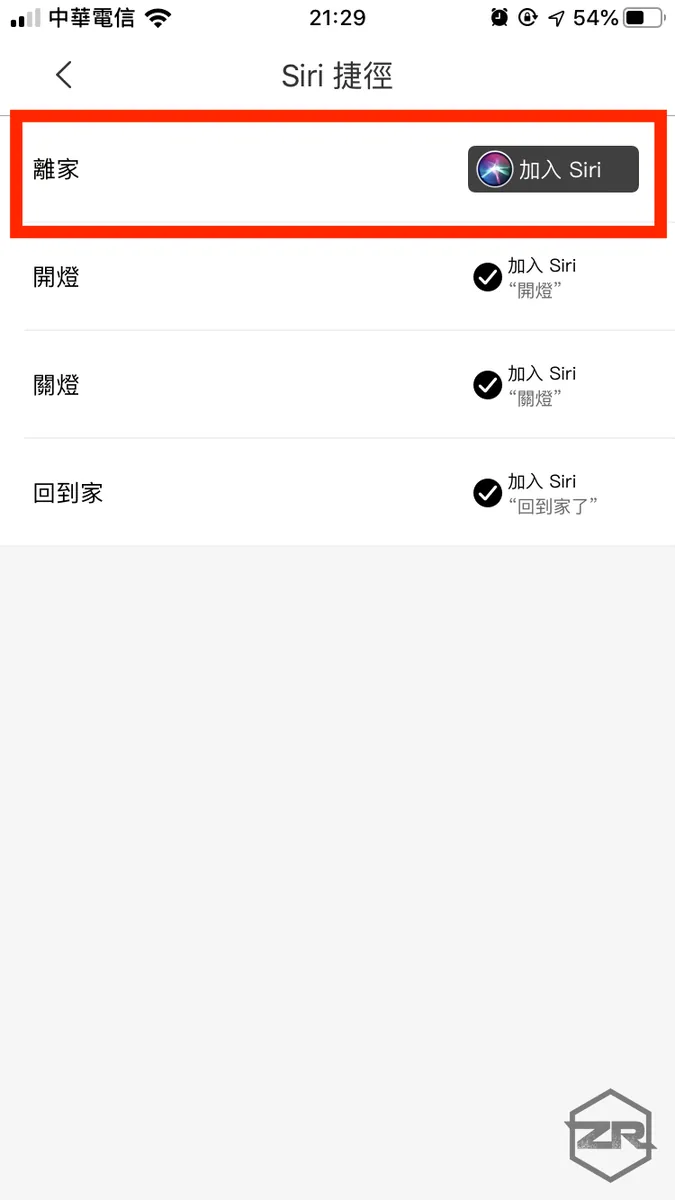
Click “Add to Siri” next to the smart action you want to add.
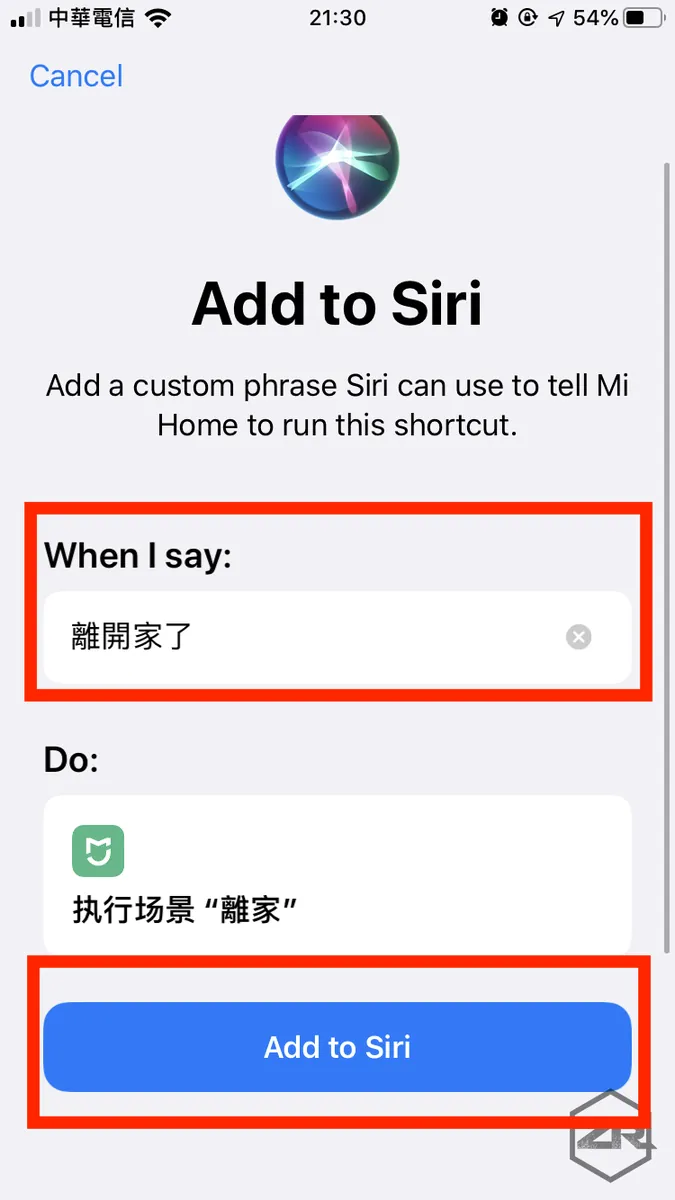
Enter the “Command to call Siri” -> “Add to Siri”
Important! The shortcut must not conflict with any built-in iOS shortcuts!
2. Open the 「 Siri Shortcuts 」 APP
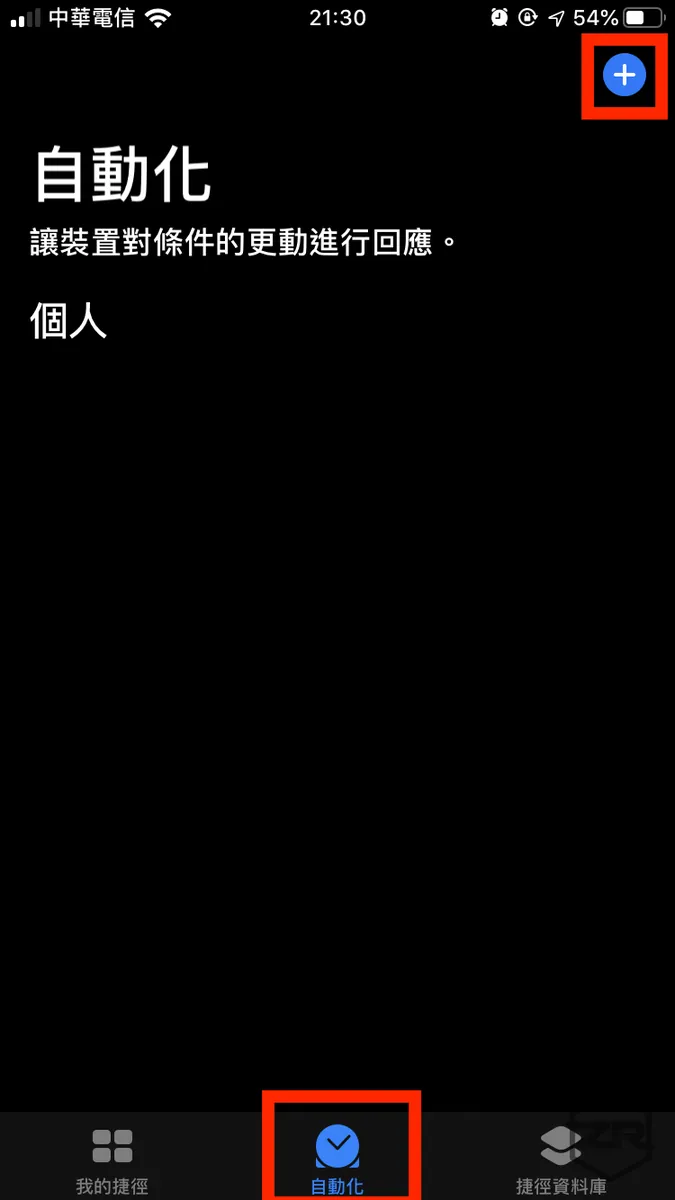
Switch to the “Automation” tab, then tap the “+” icon at the top right corner.
If you don’t see the “Automation” tab, please make sure your iOS version is above 13.1.
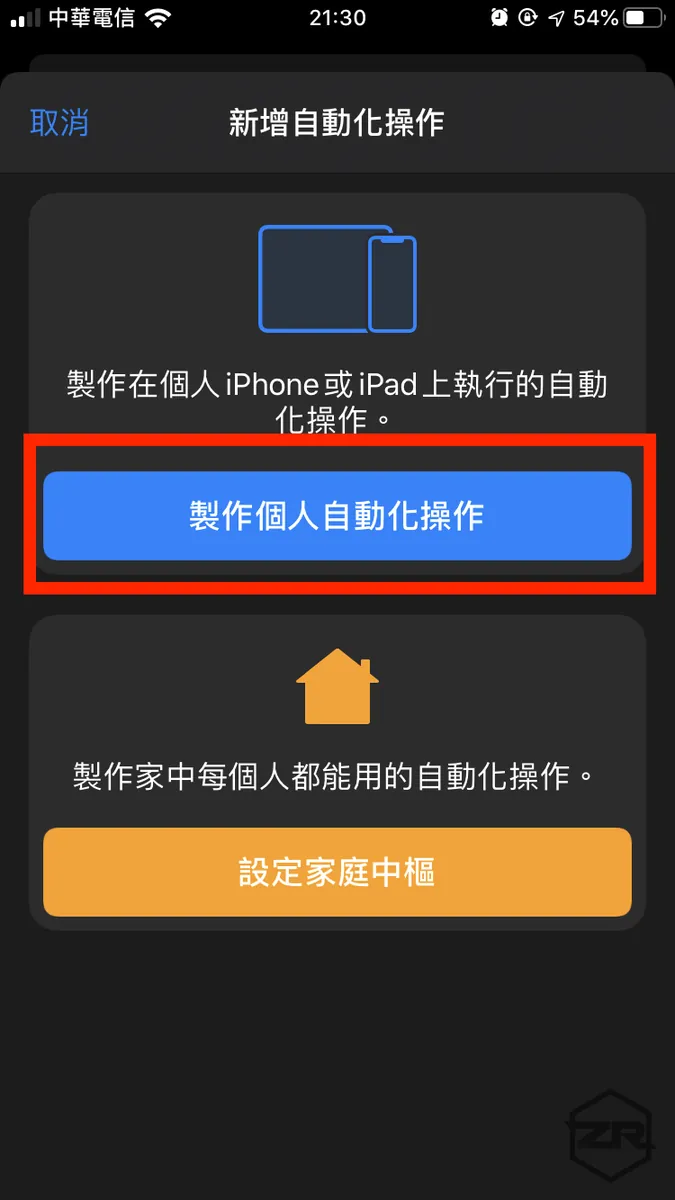
Select “Create Personal Automation”
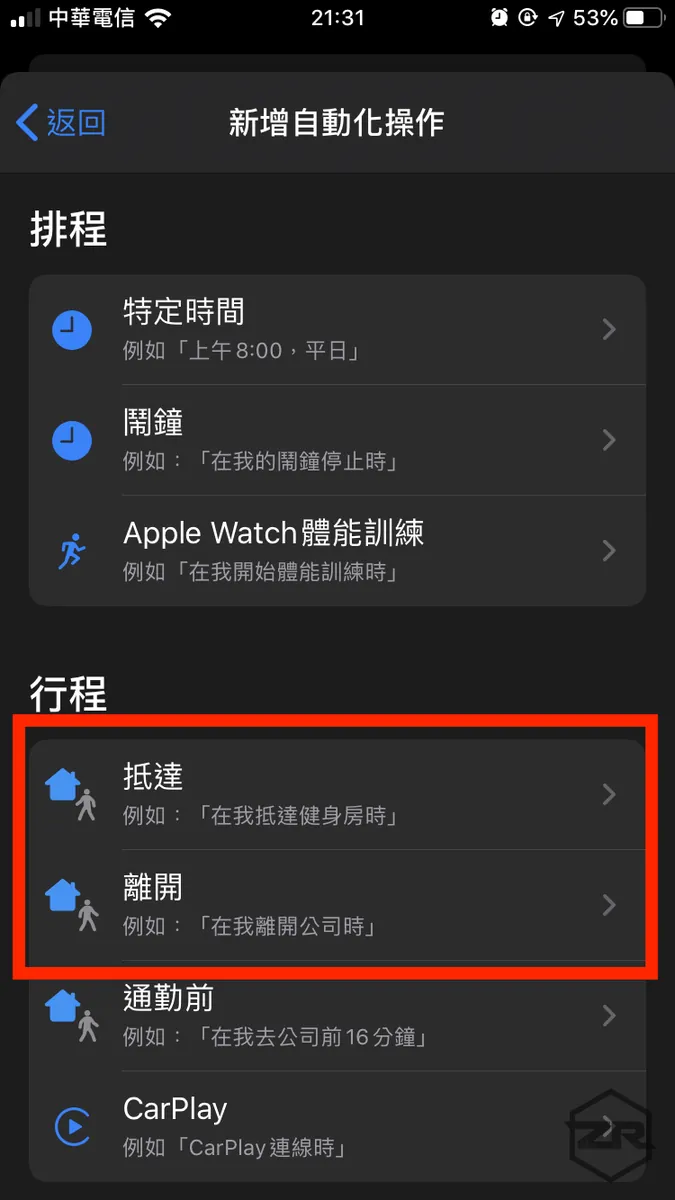
Choose the type “Arrive” or “Leave”
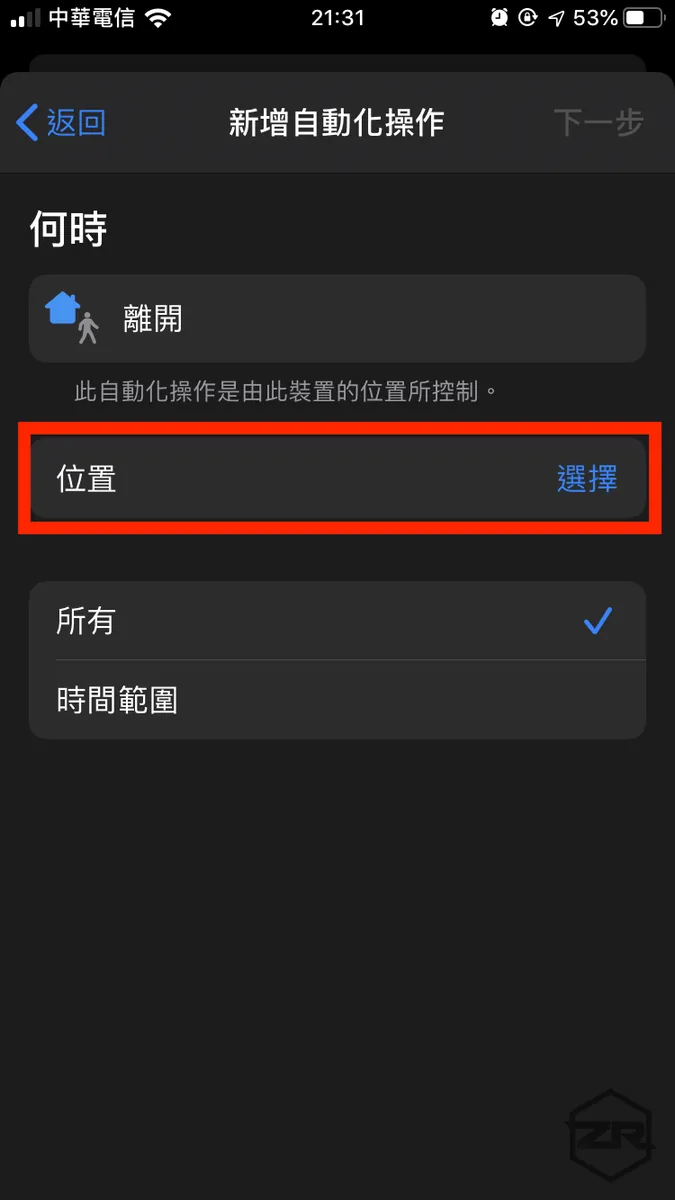
Set “Location”
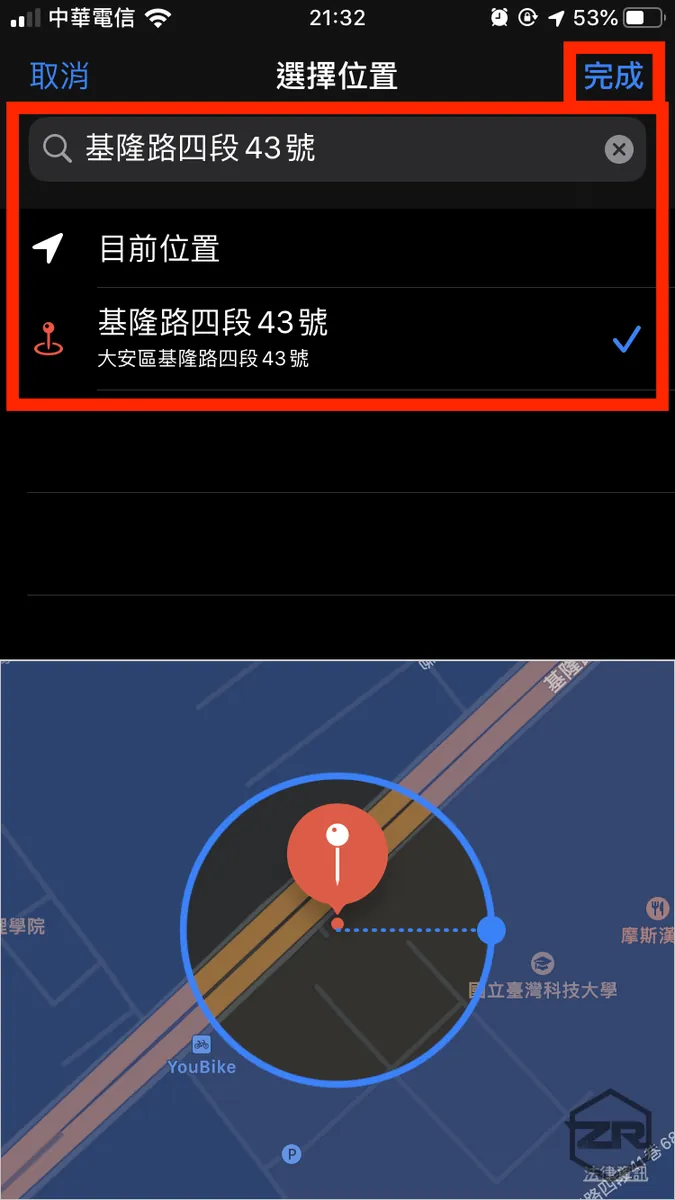
Search for a location or use the current location, then tap “Done”
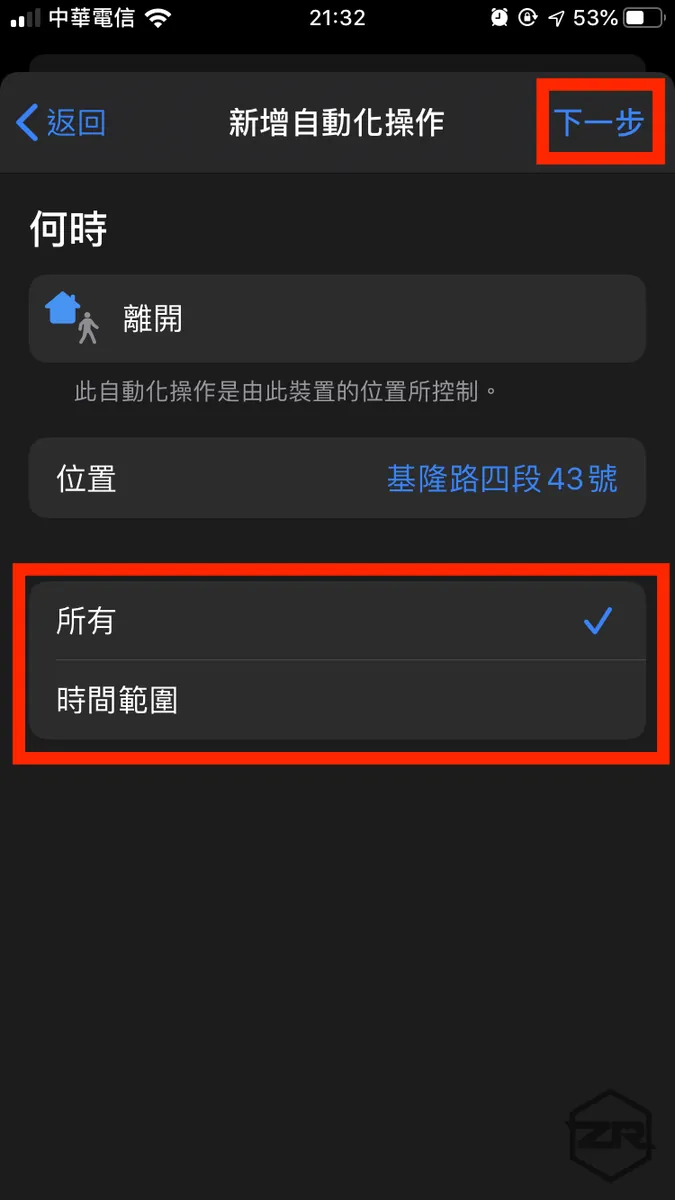
Below, you can set the time range for automatic execution. Tap “Next” at the top right corner.
Because leaving and arriving home are events that need to be detected all day long, no time range for execution is set here!
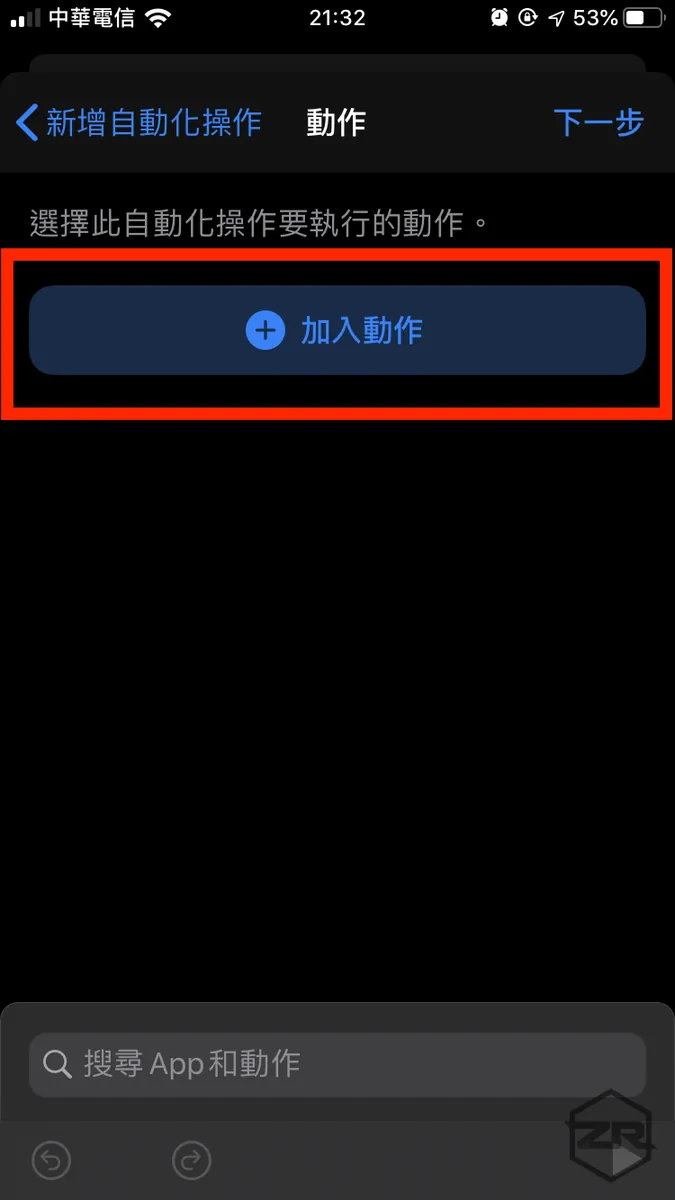
Tap “Add Action”
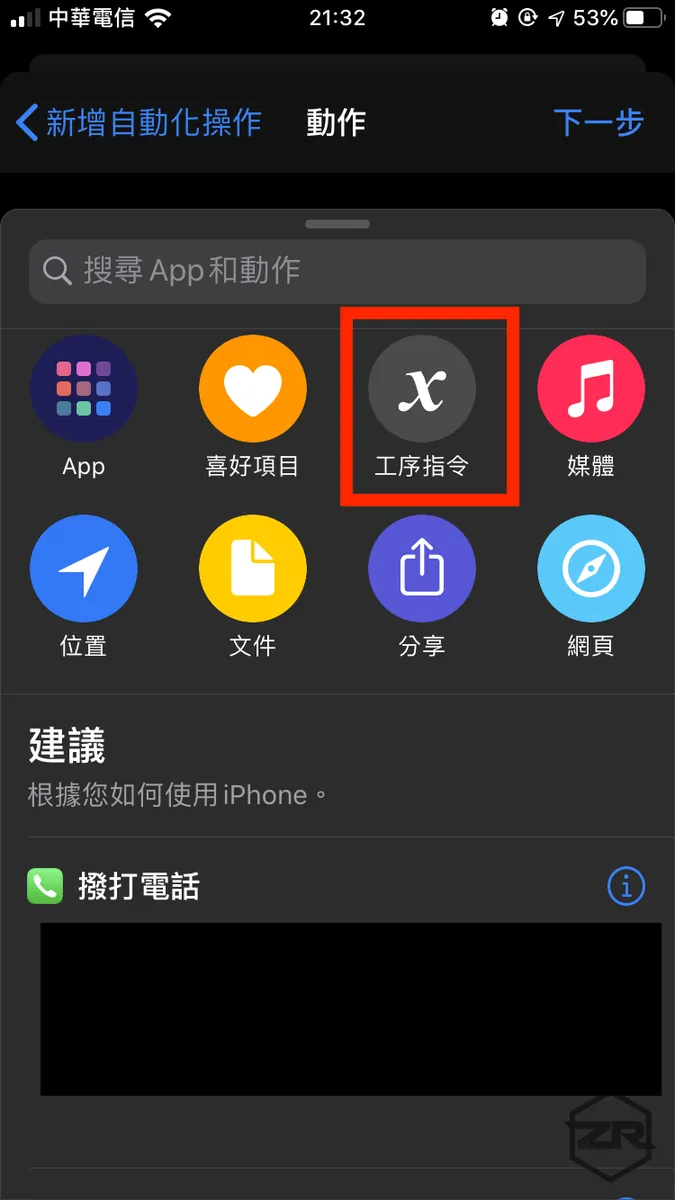
Select “Process Command”
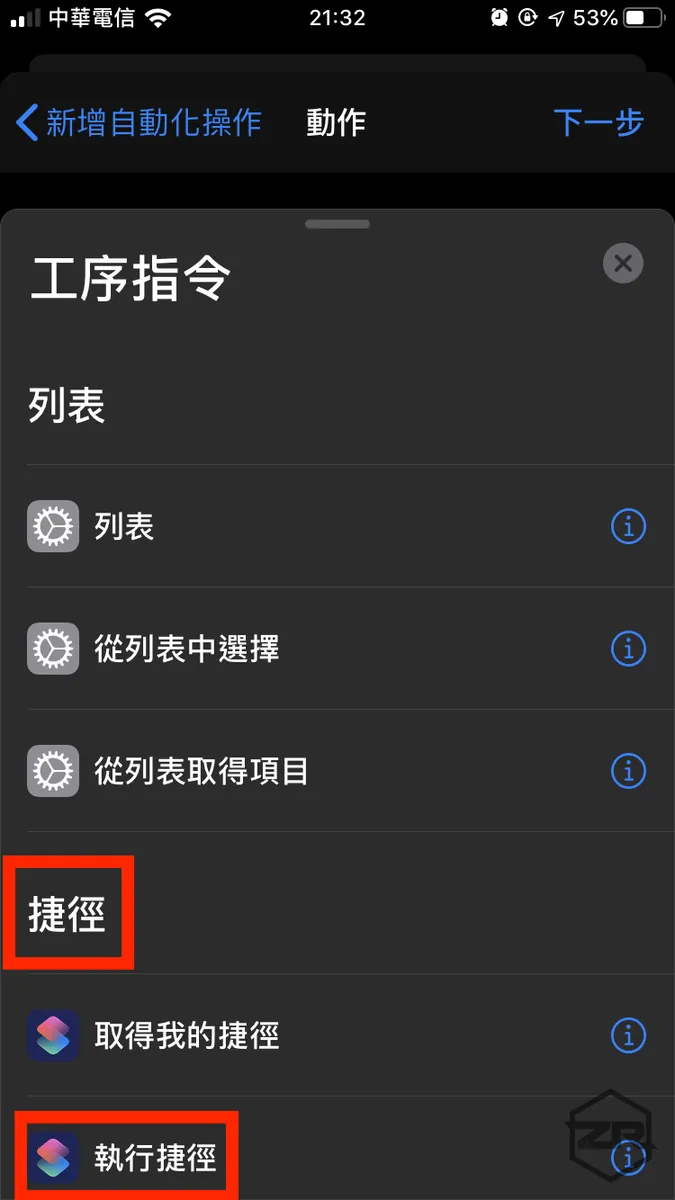
Scroll to the “Shortcuts” section and select “Run Shortcut”
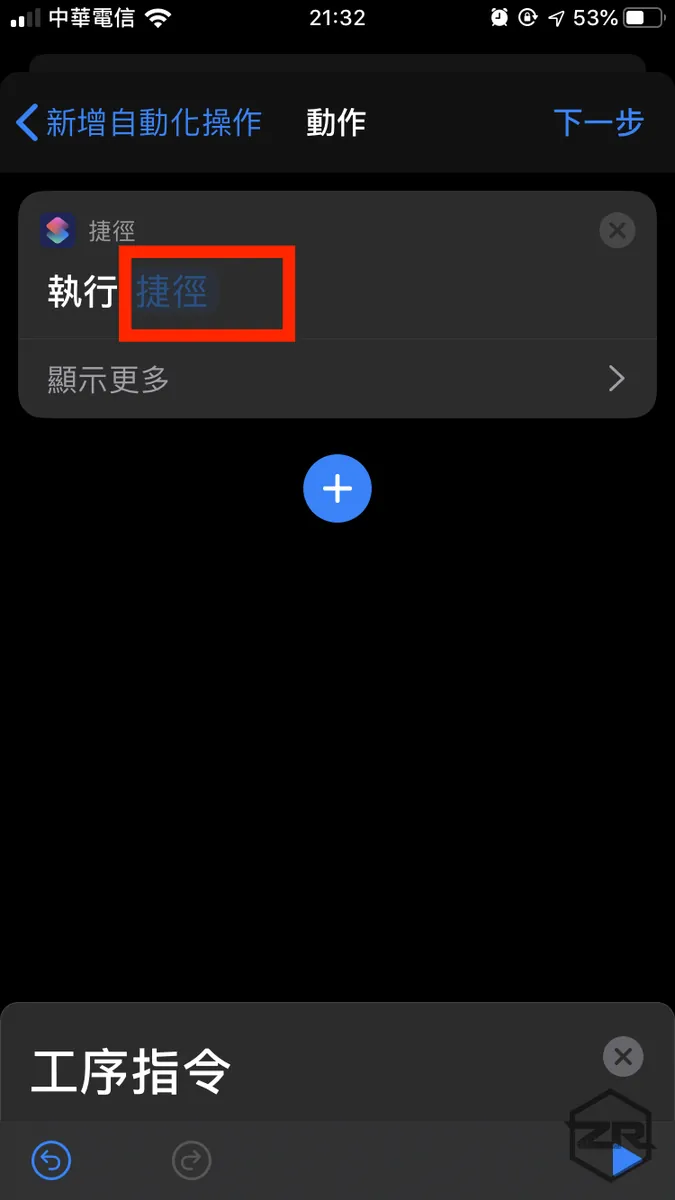
Click the “Shortcuts” section
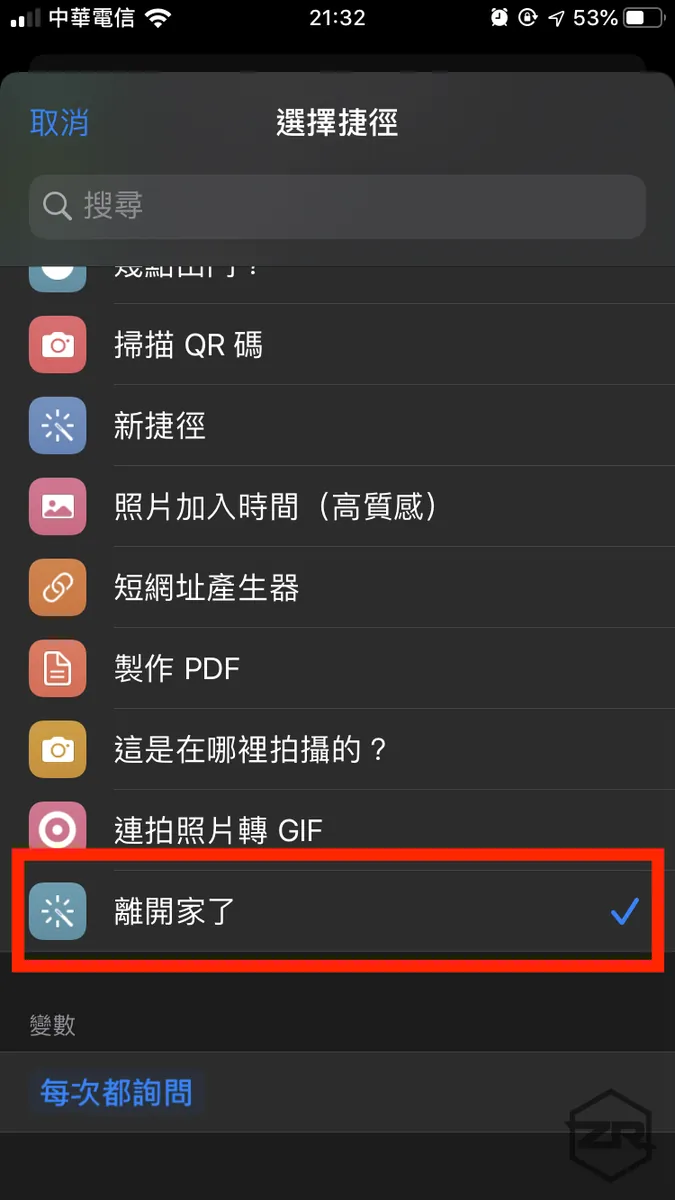
Find the “Siri Shortcut” you just added in the Mi Home app and select it.
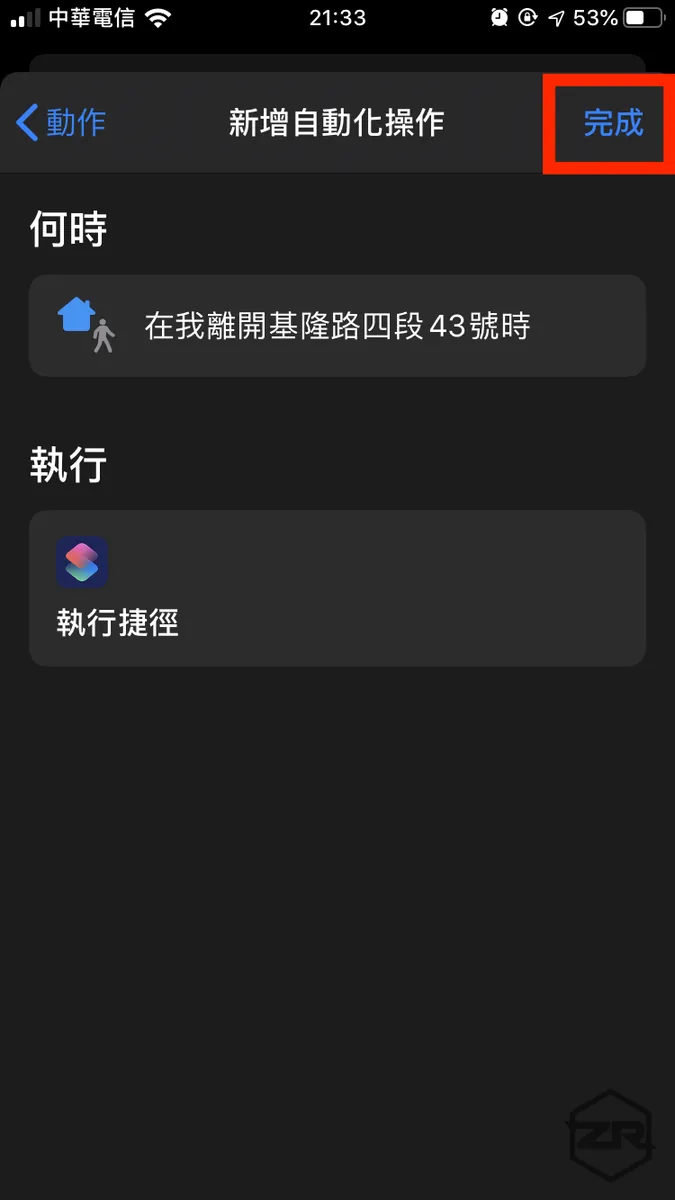
Tap “Done” at the top right corner
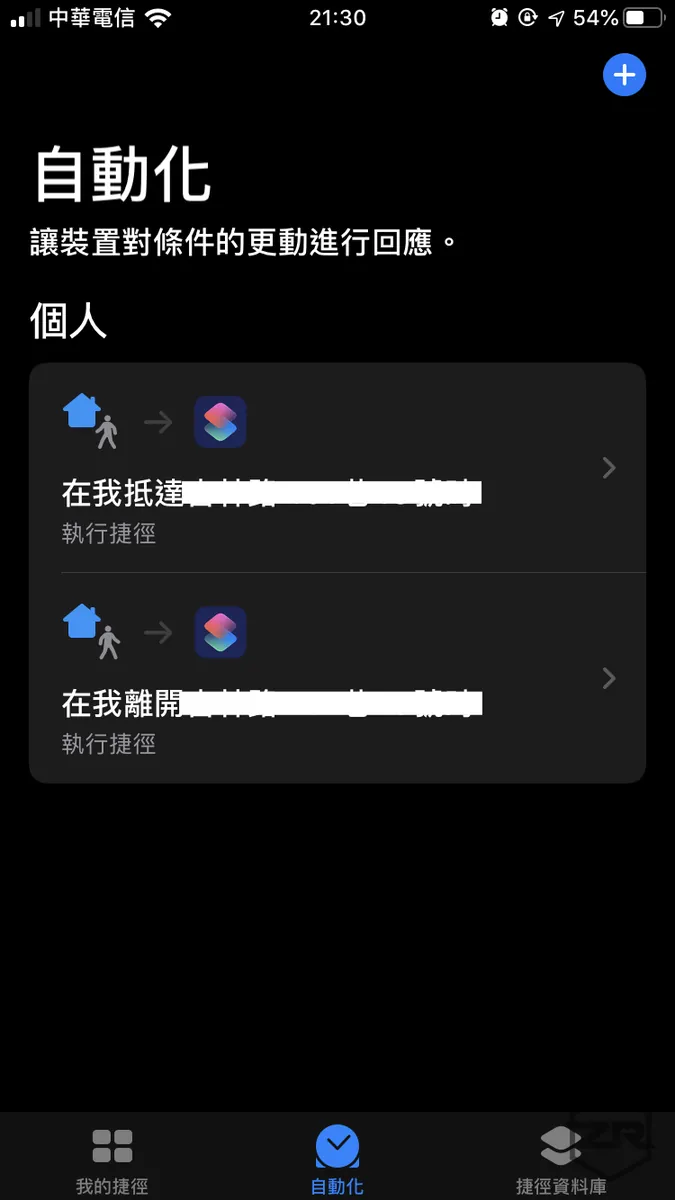
The newly added automation will appear right on the home page!
Done!
Actual Execution Results
When leaving or entering the set address range, your iPhone or Apple Watch will receive a notification to run the shortcut. Tap it to execute!
1. GPS sensing range has an error margin of 100 meters
2. “Automation” here only means automatically notifying you to tap and run, not truly running actions automatically in the background
On iPhone:
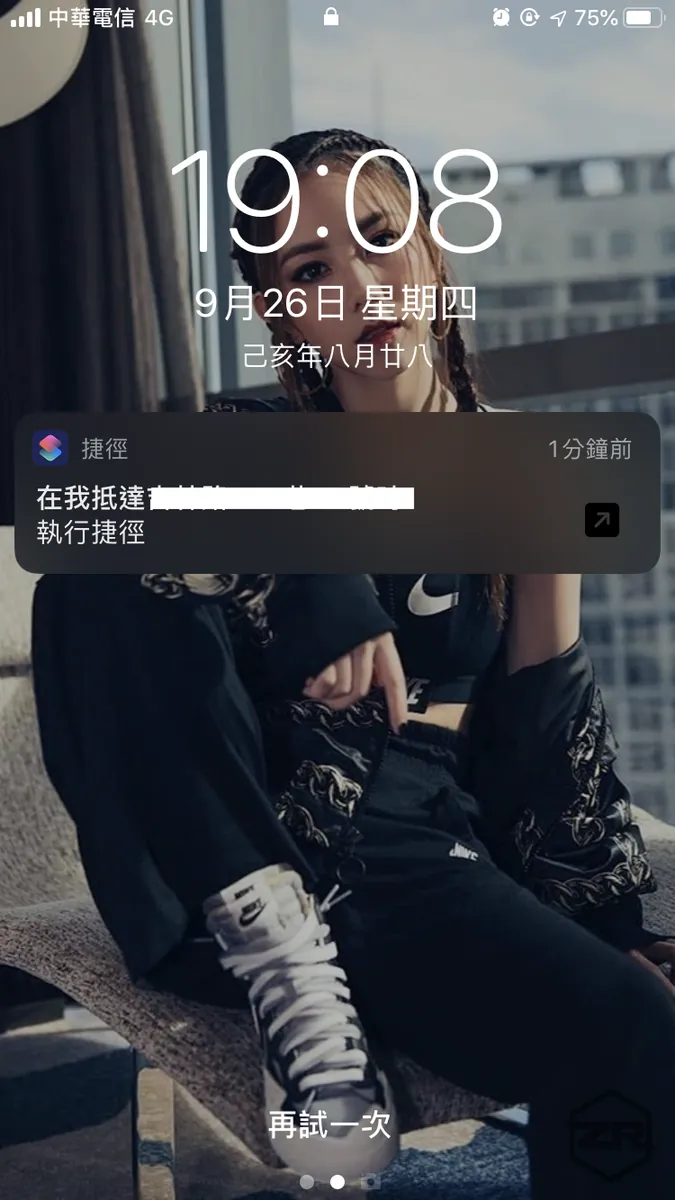
Run Notification
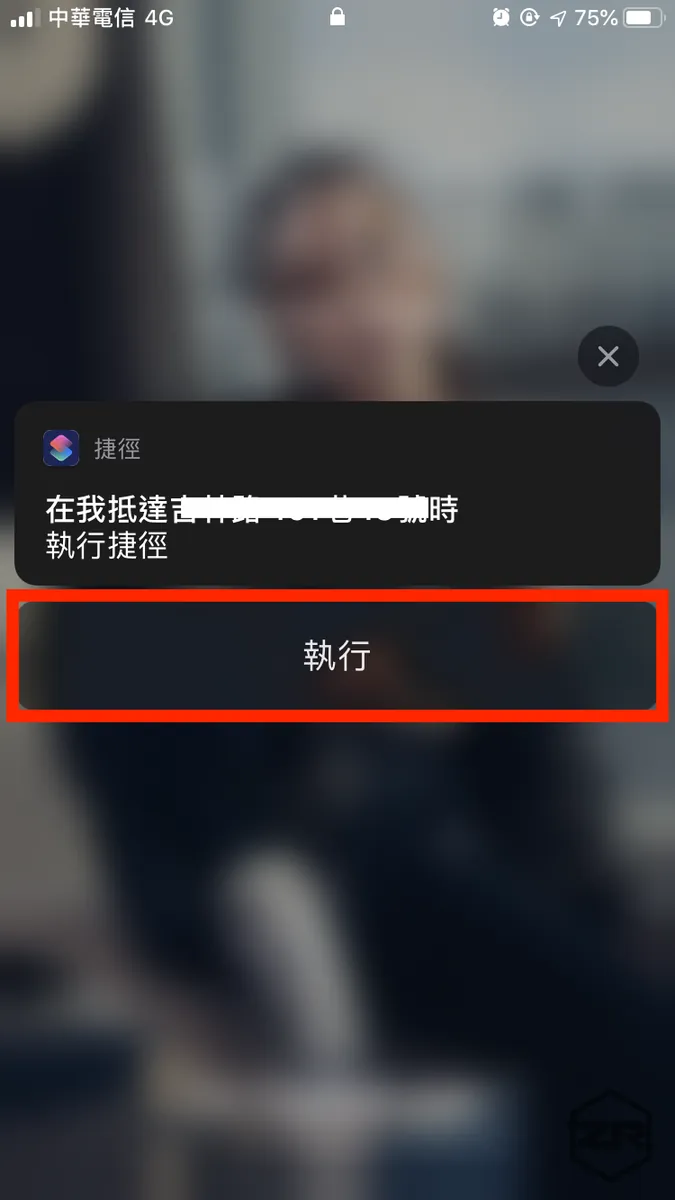
Tap to “Run”
Please note, unlocking the phone is required before proceeding.
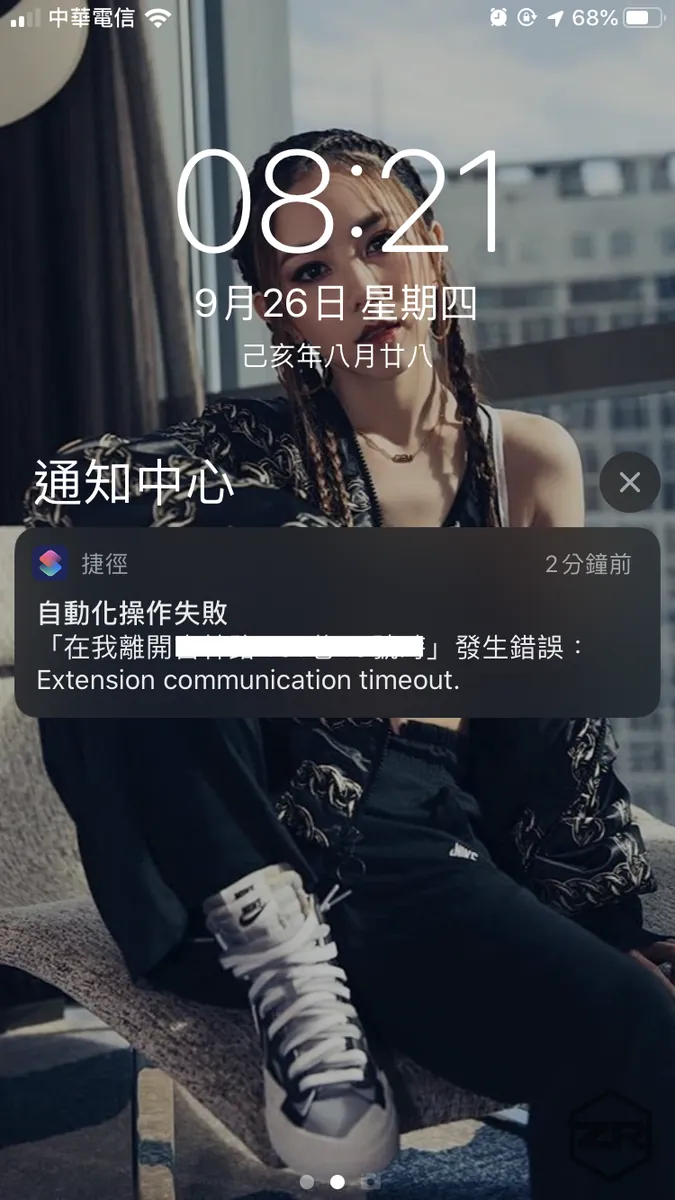
Failure will also provide feedback!
Sometimes the Mi Home devices fail to execute due to network issues.
On Apple Watch:
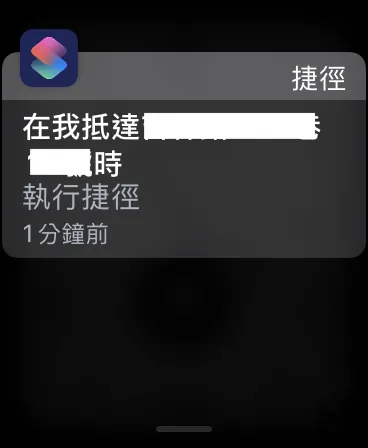
Tap to Execute
Unlike the native IFTTT app, its strength lies in the ability to execute actions directly from the watch notifications.
(IFTTT notifications are purely alerts, requiring you to take out your phone to execute.)
Besides That
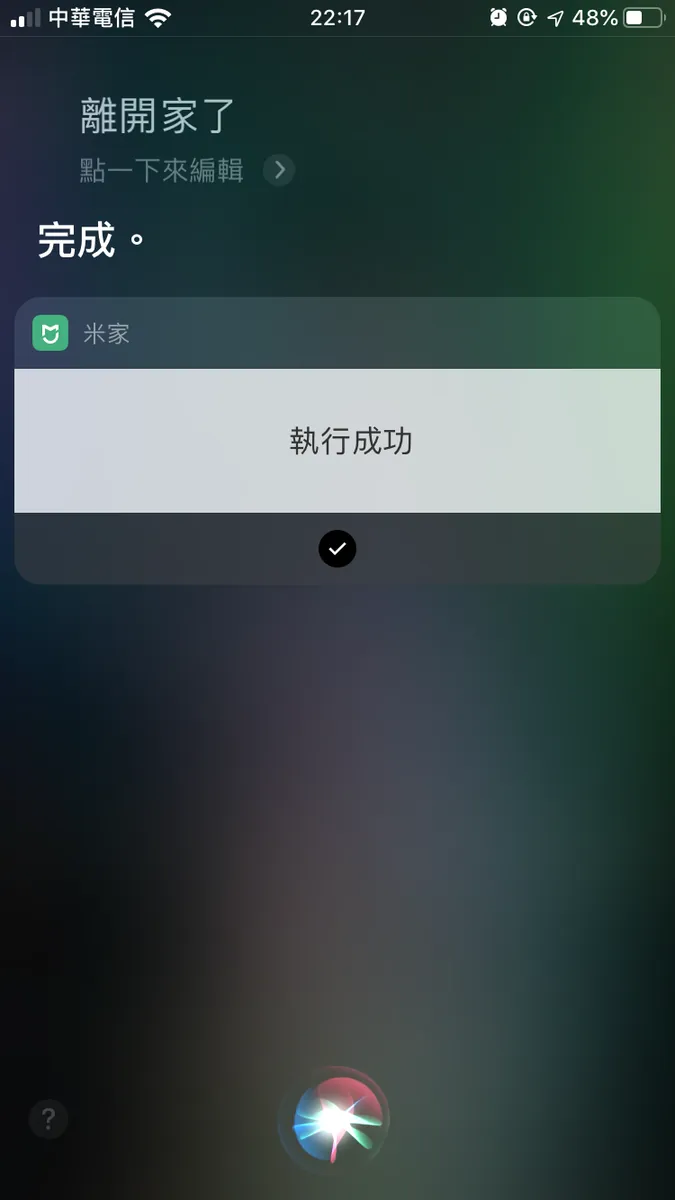
Use Siri to Trigger Execution
Since the Mi Home automation scenes have been added to Siri, you can also use Siri to execute the actions!
One step closer to a smart lifestyle!

Comments