
One Weekend Afternoon + Claude Design + Claude Code = Create a Blog with Your Own Style
Create Your Own Jekyll Theme Blog Using Claude Design + Claude Code
https://zhgchg.li/ 2.0!
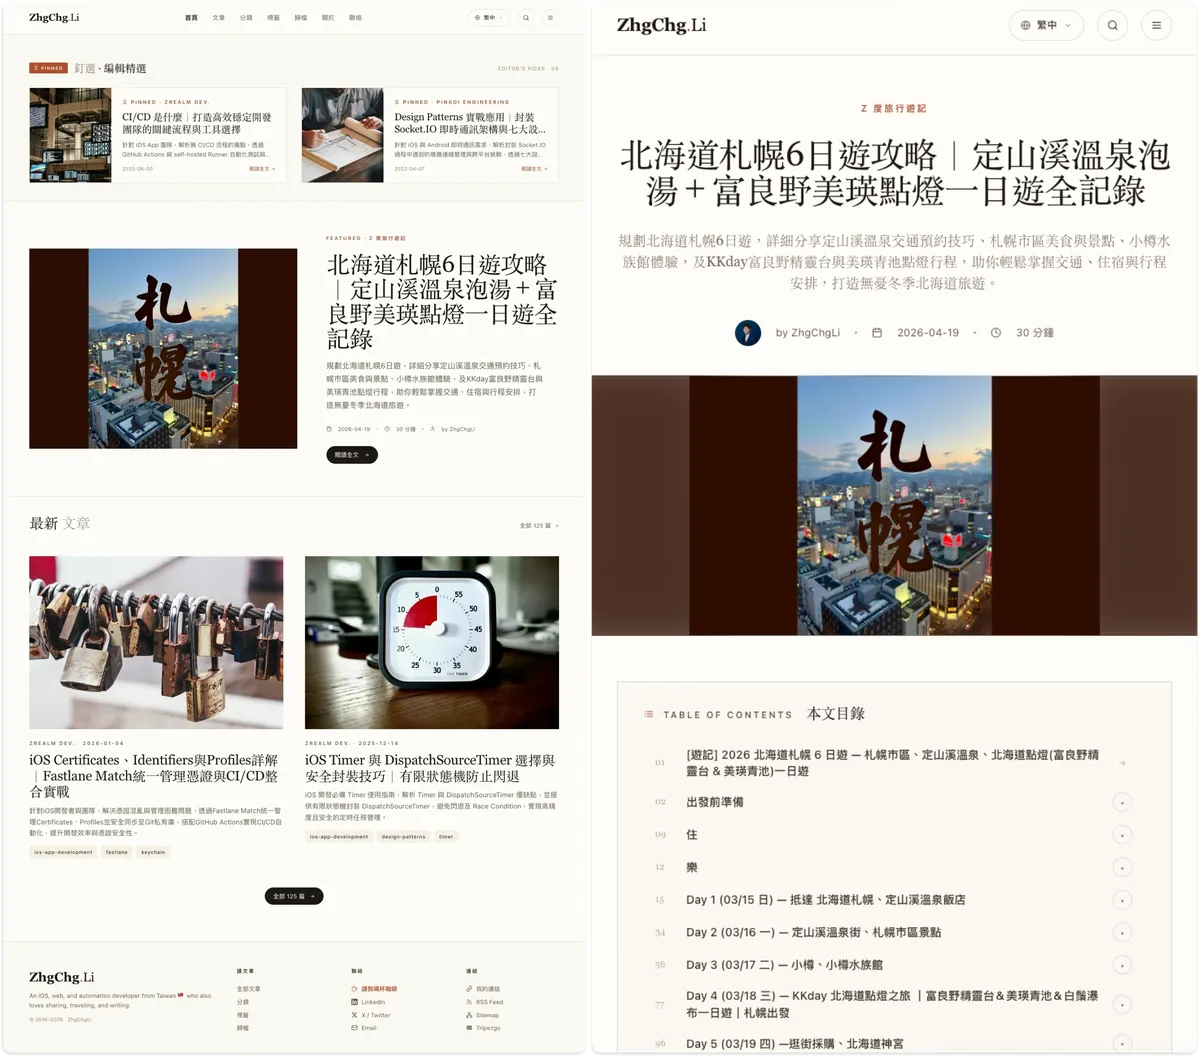
Spent a weekend afternoon designing my preferred Blog style and features with Claude Design, then implemented and applied them back to my Jekyll Blog using Claude Code, perfectly replacing the 5-year-old Chirpy Theme interface with my ideal personal Blog style.
Technology
-
Blog Structure: Jekyll Static Website
-
Original Article File: Markdown file
-
Server/Web Hosting: GitHub Pages (free and reliable)
-
Engineering: Claude Code Max ($100 USD, 5-hour quota finished before fully used)
-
Design: Claude Design (The blog pages are few, so 2 hours of usage is enough)
Cost
-
Claude Code Max $100 USD
-
Server/Web Hosting: $0 USD
-
Jekyll Theme: $0 USD
-
Time: One weekend afternoon
Implementation Steps
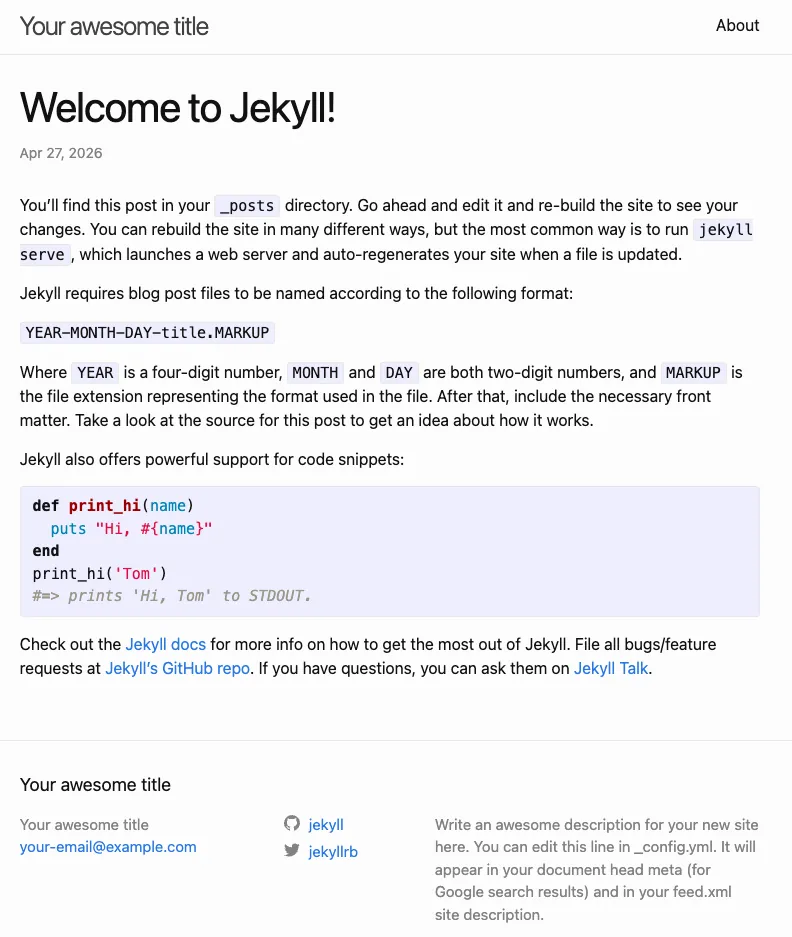
1. Create a clean Jekyll Blog locally
jekyll new blog
2. Collect Theme Page Examples and Upload to Claude Design
[2026/05/06 Update] 2–1 Design Agent Skill Using Third-Party Design Skill to Complete Design
For details, please refer to this article: “Stop Starting from Scratch with AI Programming: Let AI Agents Handle Google Apps Script Integration and Development Directly”
2–2 Claude Design
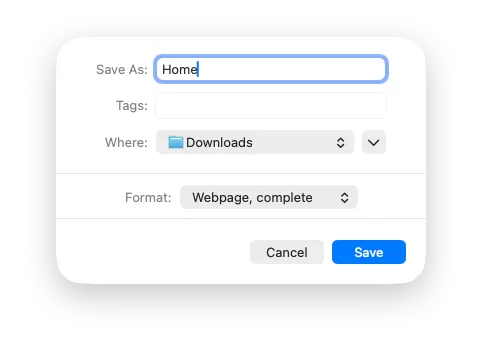
I directly go to the current Blog and right-click “Save as” on each page, such as Home, Post, Page, PostList, Archives, Tags…
Create a Theme directory and put all pages and additional files inside:

Go to Claude Design to create a project:

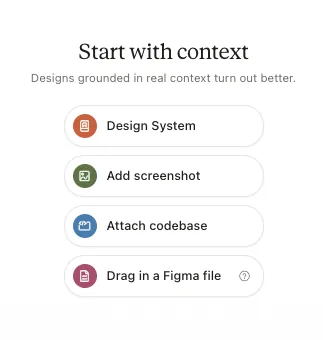
Upload the Theme page example to Claude Design and select “Attach codebase”:
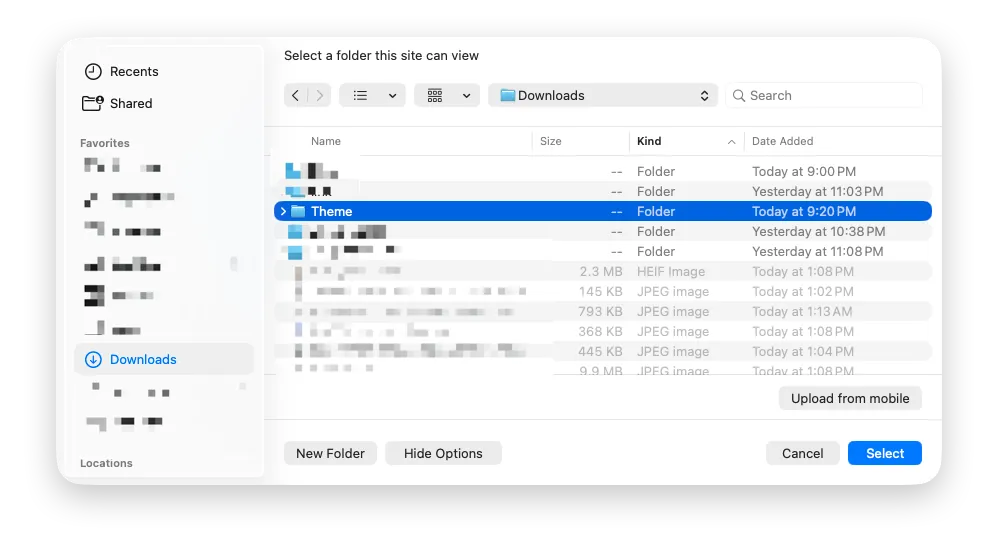
Select the Theme directory you just organized:
After making your selection, enter a prompt to ask Claude Design to create the page for you:
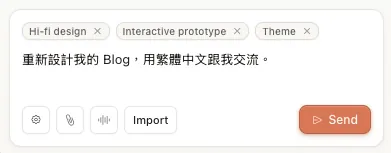
Redesign my Blog, communicate with me in Traditional Chinese.
3. Redesign Using Claude Design
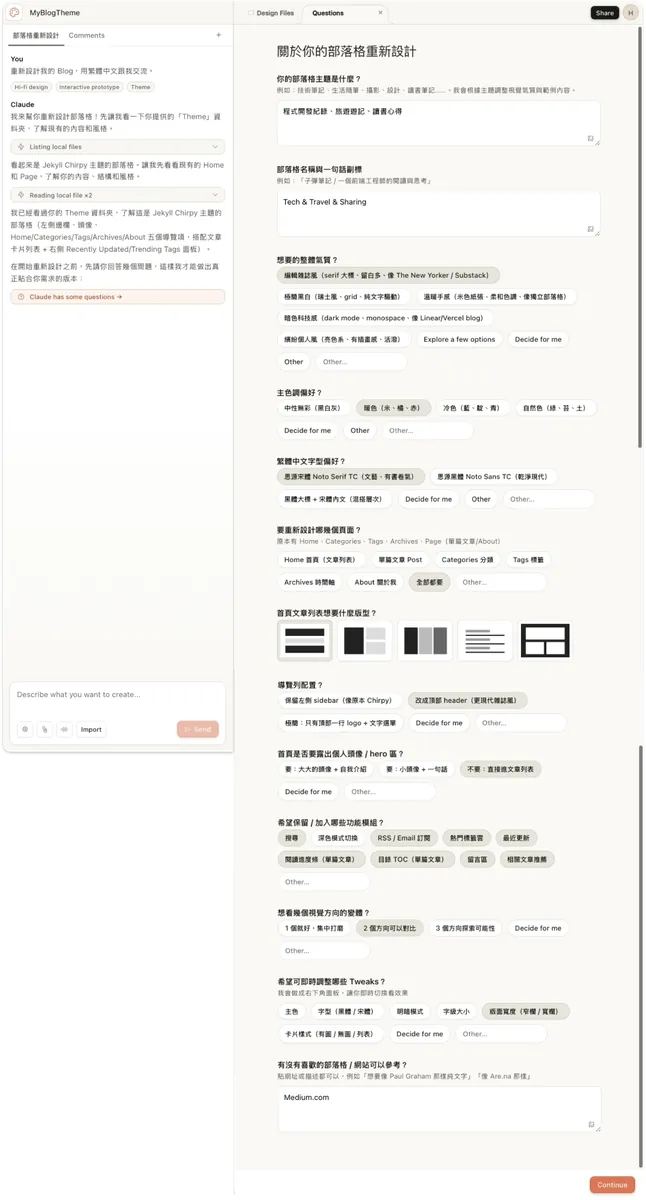
After submitting the conversation, Claude Design will ask you questions about the design you want:
-
Want to see several visual style variants? AI will generate multiple options for you to choose from
-
Which tweaks would you like to adjust in real time?
What toggle features do you want for the debug widget in the bottom right corner? -
Fill in the rest according to your own preferences.
4. Claude Design Cooking…
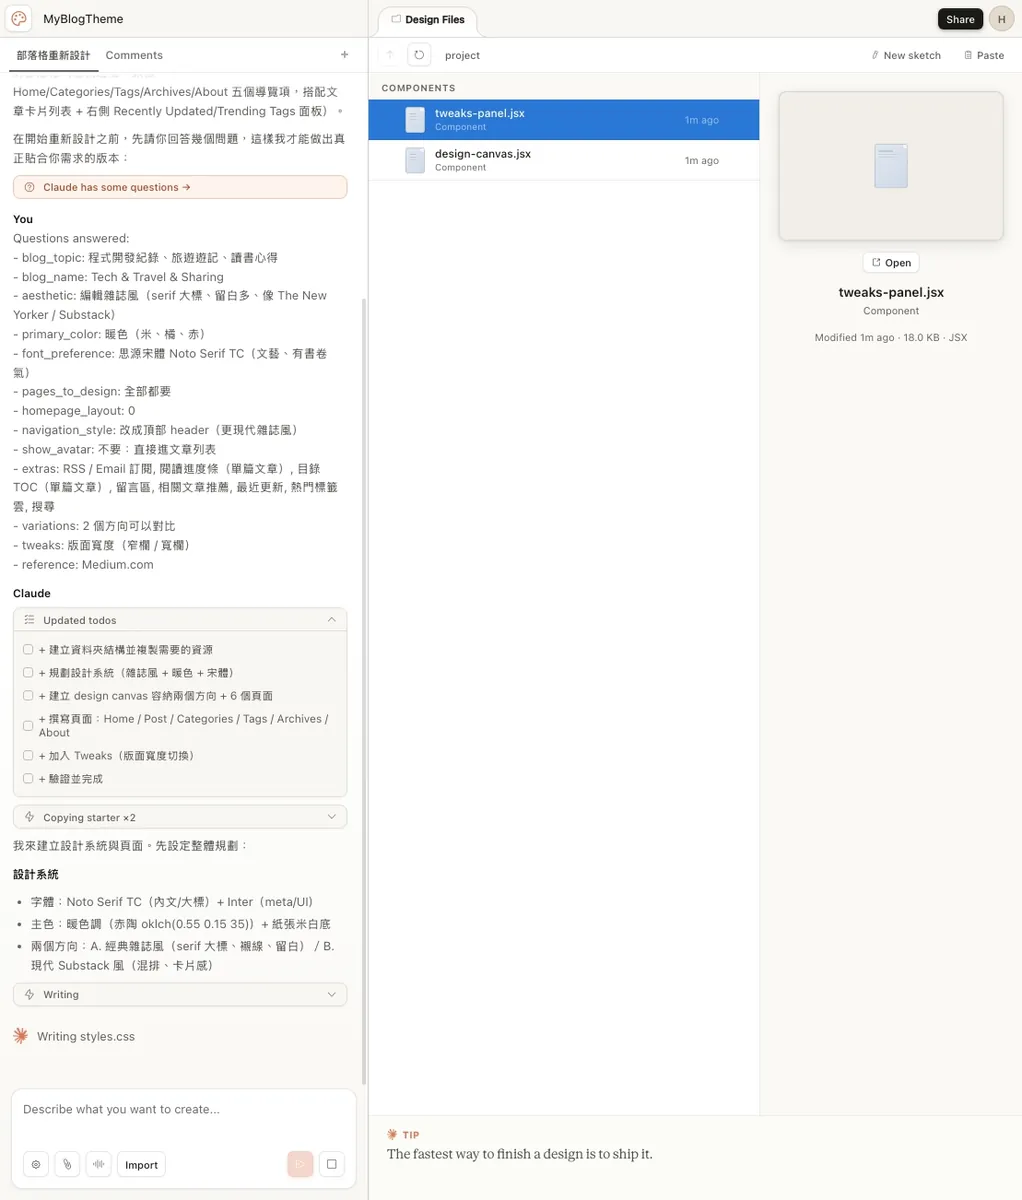
It takes about 3–5 minutes for the AI to build a complete Design System (.css) and display the results using React.js/HTML.
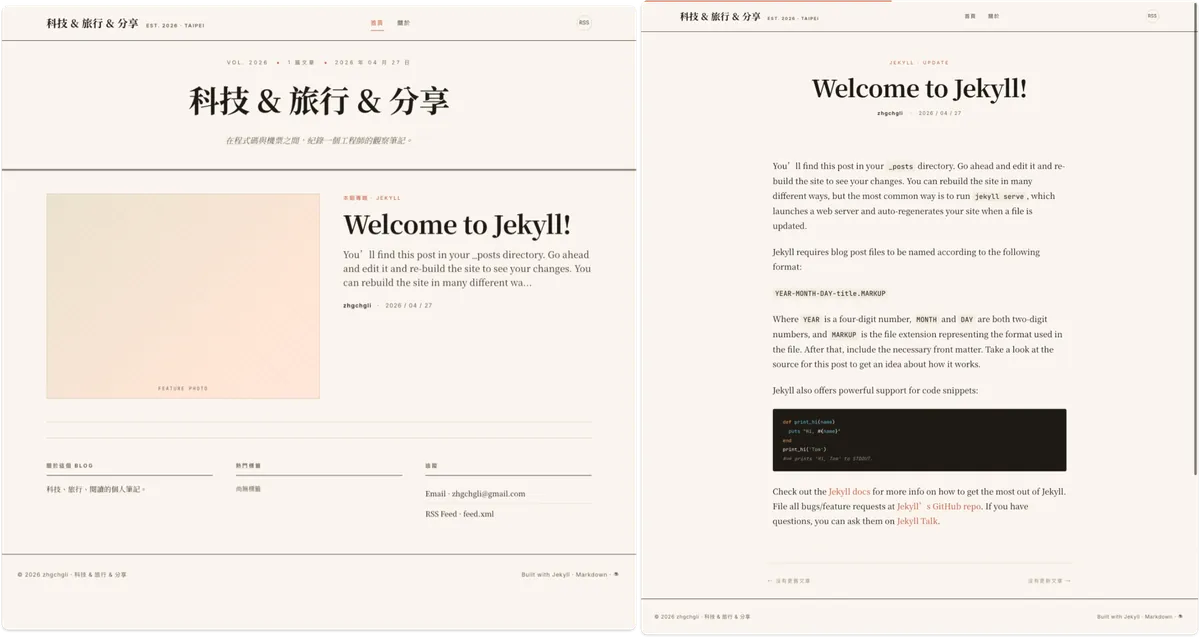
The blog redesign is completed and saved in Blog Redesign.html.
Design System
Fonts: Noto Serif TC (Song typeface) + Inter + JetBrains Mono
Color scheme: Warm paper off-white + Red clay primary color (oklch warm tone)
Three category axes: Technology / Travel / Sharing, all using real Chinese sample content
Two directions, total 7 artboards (double-click to preview full screen)
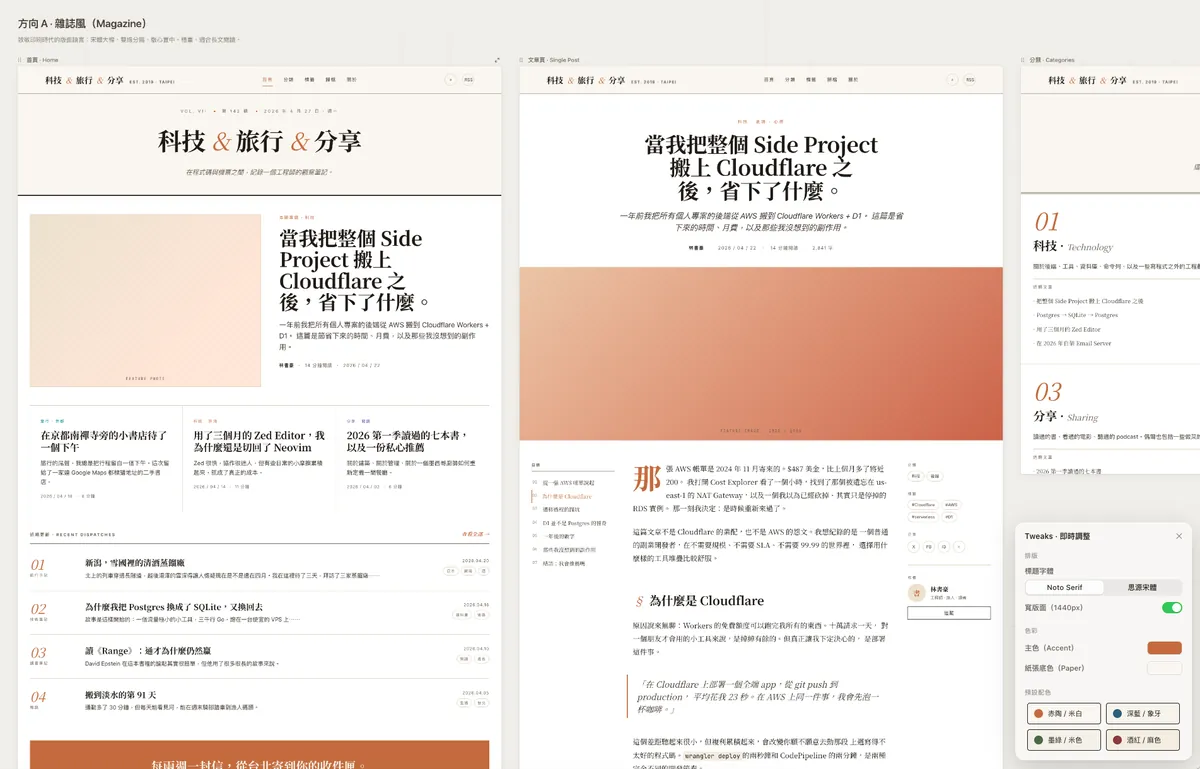
Direction A · Magazine Style
Homepage — Header title + Featured story + Three-column secondary articles + Numbered list + Newsletter
Article page — Full single post with table of contents, drop cap, introduction, code blocks, comments, related posts
Category page — 2×2 large image index
Tag page — Visual bar statistics + tag cloud
Archive page — Timeline by year + month
About page — Personal introduction + Now section + Subscription
Direction B · Modern Publication (Substack Style) 7. Homepage — Large hero image + card grid + sidebar subscription wall
Tweaks panel (open at bottom right) allows instant switching of:
Title font (Noto Serif / Source Han Serif)
Wide layout / Standard layout
Primary color and paper color (includes 4 preset palettes: Red clay, Deep blue, Dark green, Wine red)
5. Adjusting Claude Design Results
-
You can click the Tweak button at the bottom right to quickly adjust parameters and see the results.
-
You can click the top right corner of the page to enlarge and view the full webpage; if there are interactive features, you can also operate the mockup directly.
-
If clicks are unresponsive, scrolling is disabled, the page displays incompletely, or content is cut off, you can ask the AI to make adjustments.
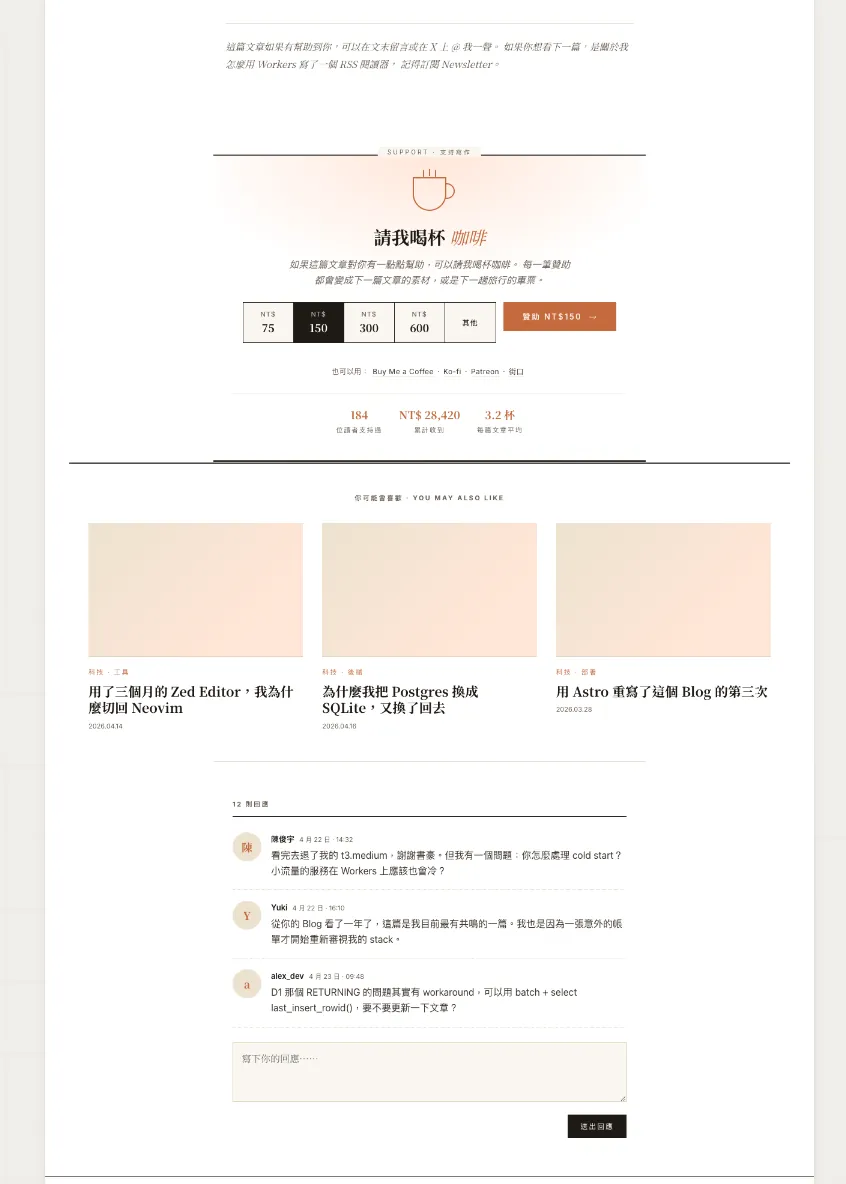
You can continue the conversation with the AI to add the features you want or adjust existing ones. For example, if I want to add a “buy me a coffee” donation link and comments at the end of the article, I can tell it:
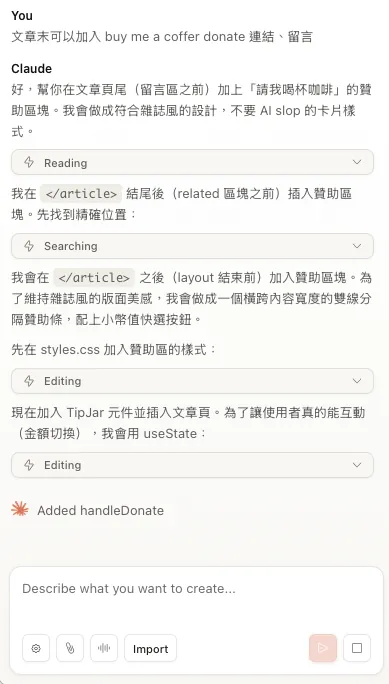
Result:
Keep interacting with AI to design the features and pages exactly as you want.
6. Claude Design Completion
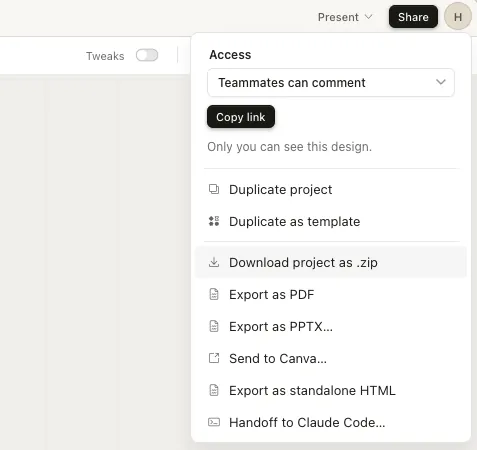
After finalizing the design, click the “Share” button at the top right → “Download project as .zip” to download the original design files:
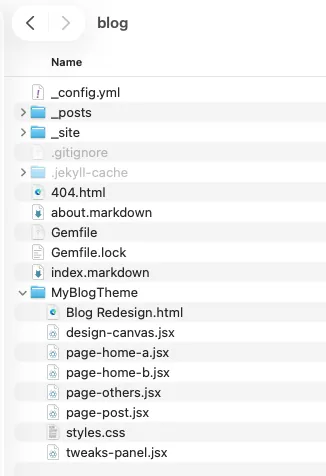
After downloading and extracting, place the folder into the Jekyll Blog directory:
7. Ask Claude Code to Implement the Claude Design Mockup
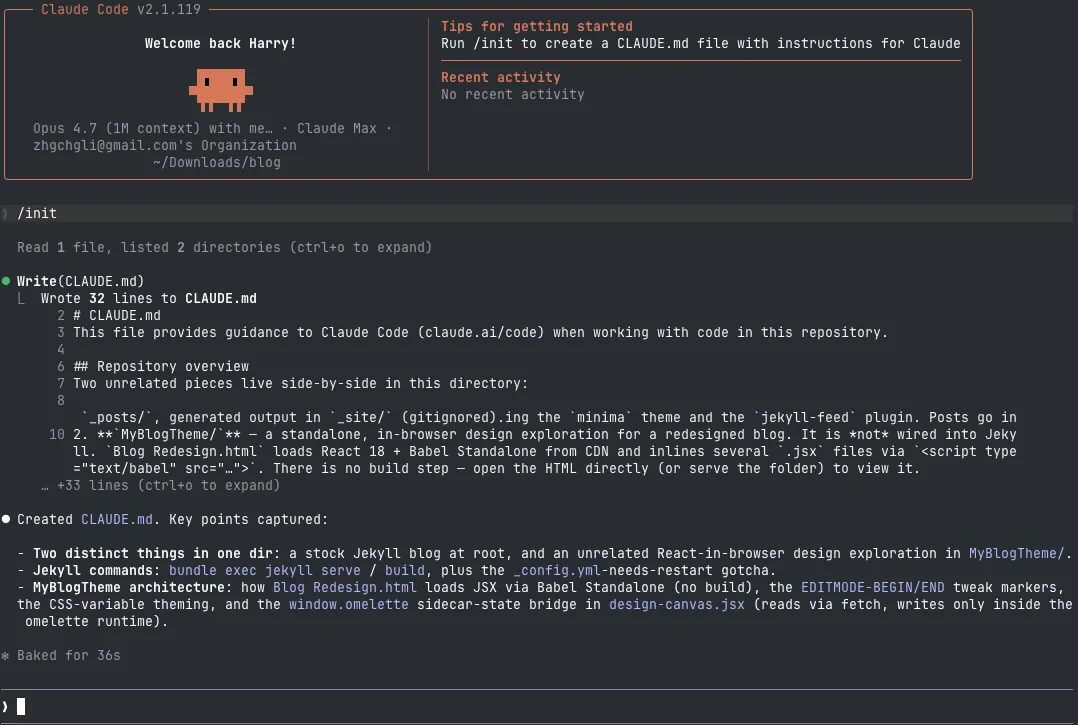
Remember to run /init once in the Jekyll Blog directory to let the AI recognize this is a Jekyll Blog structure.
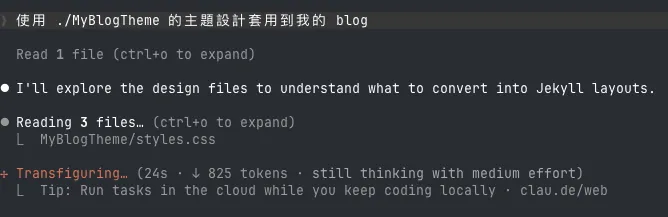
Apply the theme design from ./MyBlogTheme to my blog
8. Claude Code baking…
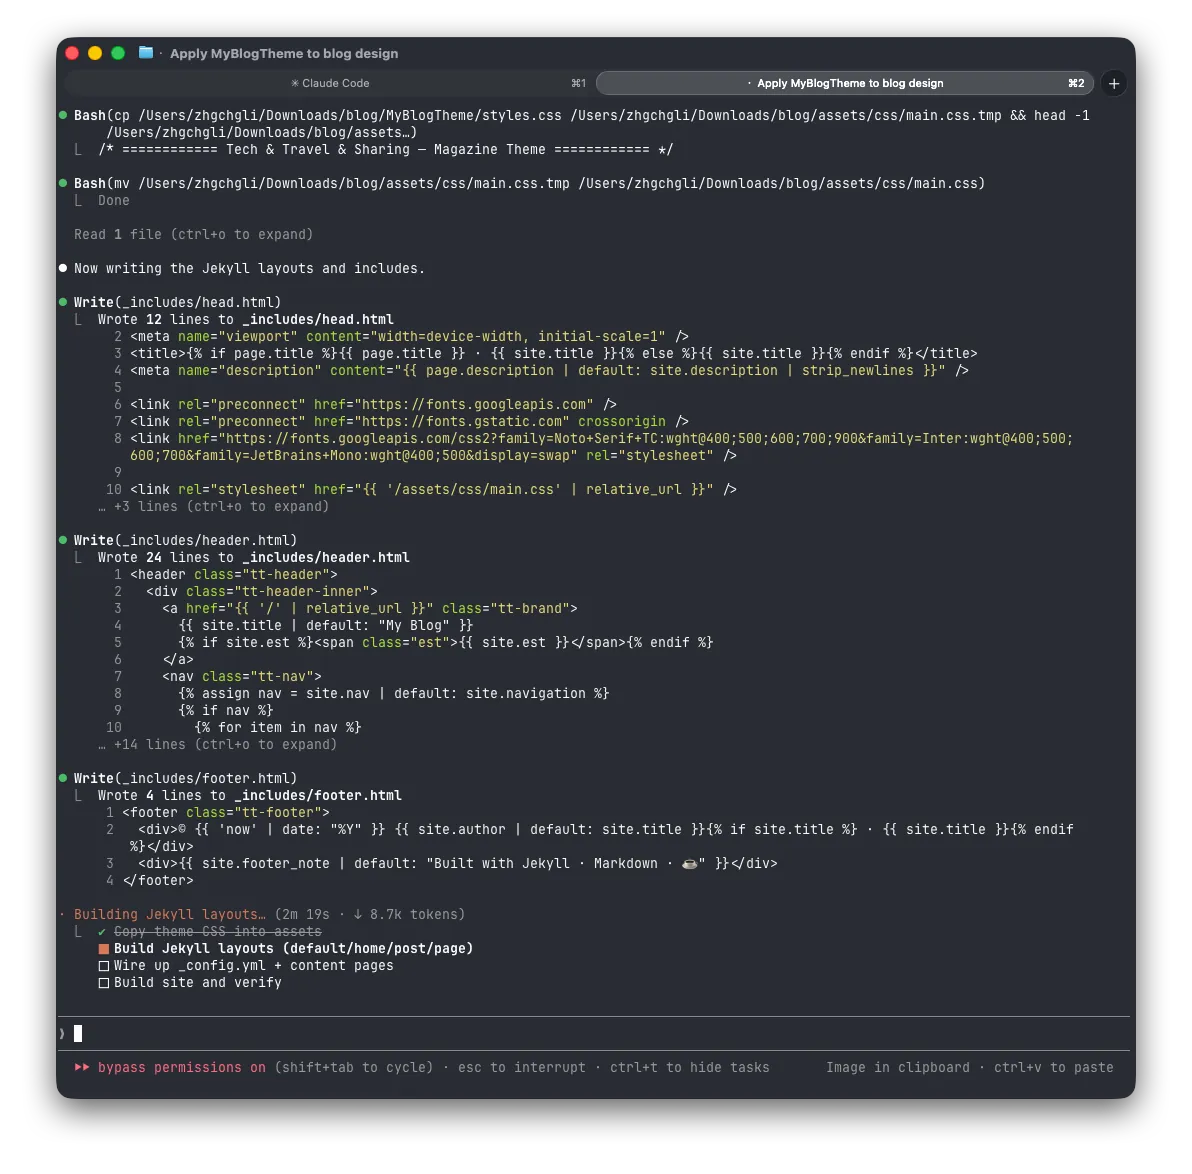
- The initial build took about 20K Tokens (Opus 4.7 / effort: medium)
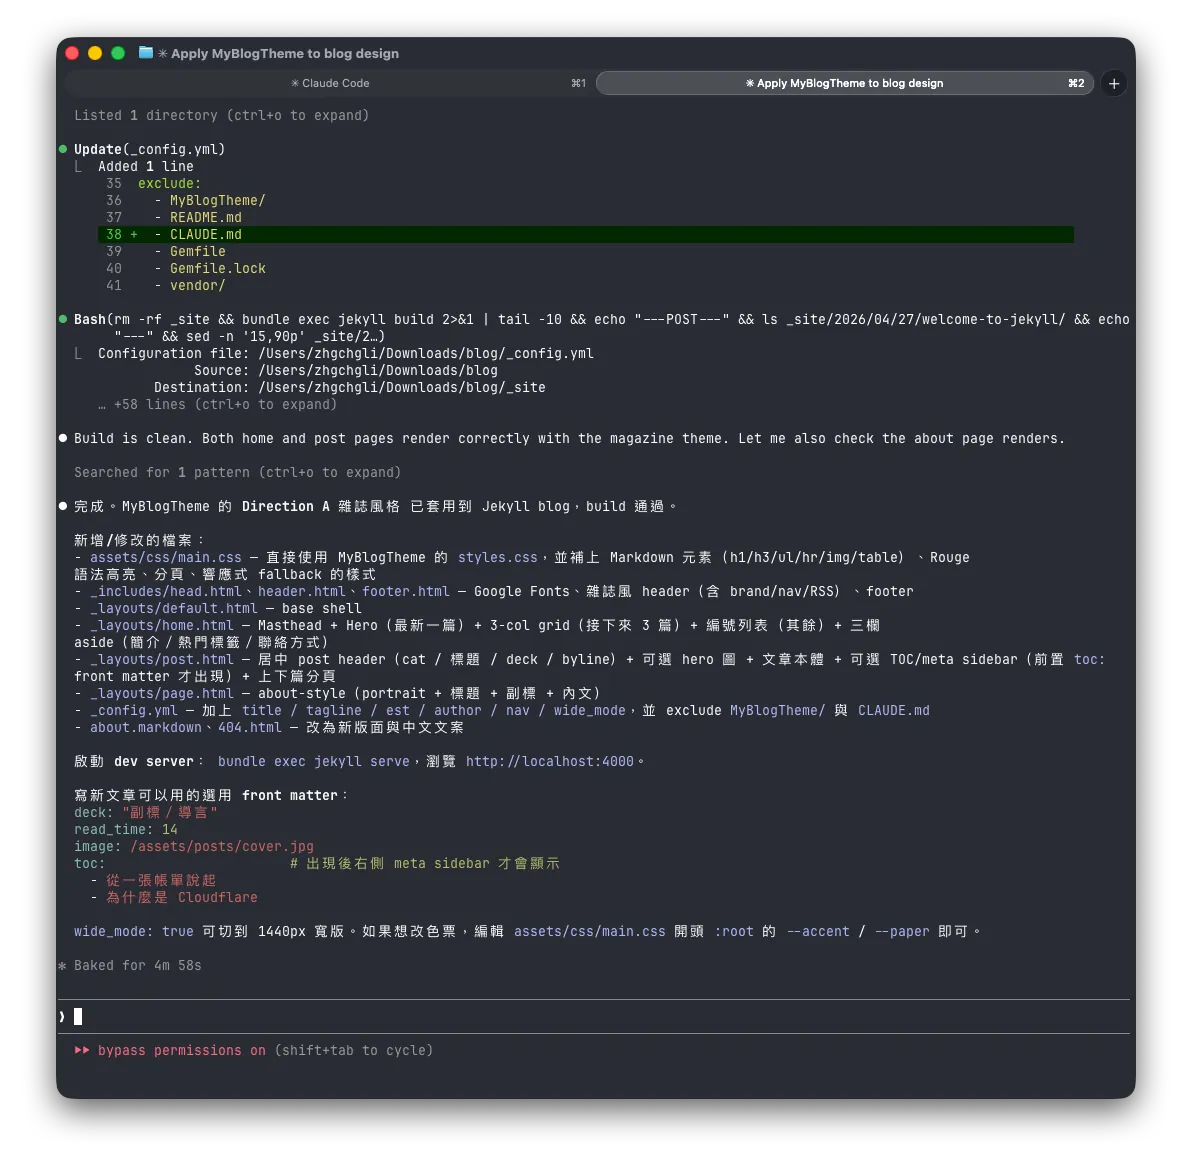
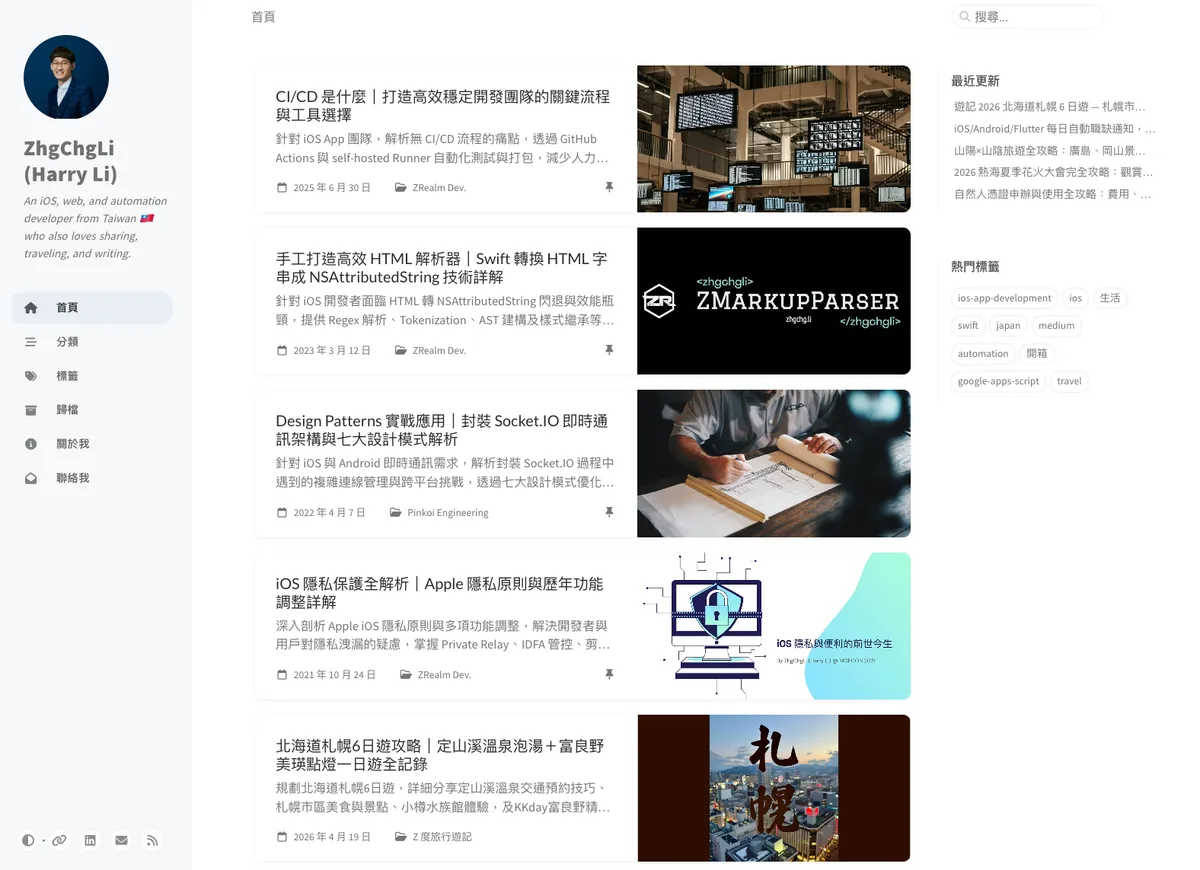
Results:
Run bundle exec jekyll serve and open http://127.0.0.1:4000/ to see the result:
Continue to have the AI optimize and fix issues, but the basic completion level is already very high!
Implementation Tips
-
You can tell the AI:
Your Blog will be deployed to GitHub Pagesor another platform, because each platform may have different features. For example, GitHub Pages only allows certain Jekyll Plugins, and plugins not on the allowed list won’t work after deployment. -
You can tell the AI:
Prioritize using native Jekyll features, Jekyll Plugins, and free open-source projects to implement functionality. -
You can tell the AI:
Website design must prioritize SEO structure and RWD user experience. -
You can tell the AI:
Design a new Theme to replace the existing one. -
The CI/CD YAML for deploying to GitHub Pages can also be written by AI, and it will guide you through the steps as well.
-
If you want to adjust the new page design, it is recommended to go back to Claude Design to modify the design draft. After adjusting, download it again and place it back in the directory; it is not recommended to ask Claude Code to do visual design directly, as it is not very good at aesthetics.
Plugins or Features I Used
Jekyll Plugins:
-
jekyll 4.3 + kramdown (GFM) + kramdown-parser-gfm
-
rouge — code highlight
-
jekyll-feed — Atom feed (/feed.xml)
-
jekyll-sitemap — /sitemap.xml
-
jekyll-paginate-v2 — Article Pagination Feature
-
jekyll-archives — Archive Pages
-
jekyll-seo-tag — SEO Meta Tag / OG / Twitter Card meta
-
jekyll-redirect-from — Short URL redirect
CSS / Frontend Resources:
-
GLightbox v3 (CDN, MIT) — Image click to enlarge lightbox
-
SCSS: assets/css/main.scss
-
Font Awesome icon svg
JavaScript Features:
-
Drawer Menu (topbar menu / overlay / ESC to close)
-
LQIP hydrator & Lazy Load — Article Image Placeholder & Lazy Loading
-
Reading progress bar
-
Client-side TOC
-
Search: /search.json build-time + pure JS substring filter (no lunr)
Third-Party Services:
- giscus — Comments (GitHub Discussions)
Background
Since 2018, I have been writing articles on Medium to document programming and life. Later, I developed a small tool ZMediumToMarkdown that can download Medium articles and convert them into Markdown files for backup. I also built an independent Blog website using Jekyll + Chirpy theme, deployed on the free GitHub Pages.
Jekyll is a convenient static site generator that converts Markdown and templates into HTML, which can then be uploaded to a hosting service to publish content online.
-
I also created my own Linktree using Jekyll: https://link.zhgchg.li
-
jekyll new blogquickly creates a default Blog project
The default Jekyll Blog project style is very basic:
However, finding a satisfactory Jekyll Blog Theme is not easy. Some have beautiful homepages, some offer great article page experiences, and others have good list pages. Even paid themes rarely meet all expectations. Sometimes, after installing and setting everything up, you realize a feature or page is missing, forcing you to abandon it and start over, which is very frustrating.
After several rounds of searching back and forth, I finally found a theme with a decent layout, responsive design, and complete blog features — Theme Chirpy :
I have been using it for 5 years. There were times when I got tired of it and wanted to switch; but after going through a cycle of searching, I always ended up coming back to Theme Chirpy, as mentioned before, I couldn’t find a better-looking and more practical theme.
Until Claude Design + Claude Code appeared, I finally took the plunge and asked AI to design the Blog style I wanted and implement the functional pages.


Comments