
[Reinstallation Note 1] - Laravel Homestead + phpMyAdmin Environment Setup
From Zero to One: Setting Up a Laravel Development Environment with phpMyAdmin GUI for MySQL Database Management

Recently, I reset my Mac and documented the steps to restore the Laravel development environment.
Environment Requirements
-
Vagrant: Virtual environment configuration tool
-
VirtualBox: Free virtualization software. If you have purchased Parallels, you can use Parallels directly (but you need to install the plug-in).
After downloading and installing these two software, proceed to the next setup step.
VirtualBox installation requires a reboot, and you need to go to “Settings” -> “Security & Privacy” -> “Allow VirtualBox” to enable all services.
Configure Homestead Environment
git clone https://github.com/laravel/homestead.git ~/Homestead
cd ~/Homestead
git checkout release
bash init.sh
phpMyAdmin
phpMyAdmin is a PHP-based, web-based MySQL database management tool hosted on a web server, allowing administrators to manage MySQL databases via a web interface. This interface provides an easier way to input complex SQL queries and is especially convenient for importing and exporting large amounts of data. — Wiki
Go to the phpMyAdmin official website and download the latest version.
Unzip .zip -> Folder -> Rename Folder -> “phpMyAdmin”:
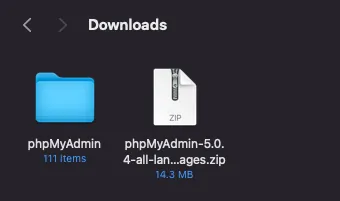
Move the phpMyAdmin folder into the ~/Homestead directory:

phpMyAdmin Configuration
In the phpMyAdmin folder, find config.sample.inc.php, rename it to config.inc.php, and open it with an editor. Modify it with the following settings:
<?php
/* vim: set expandtab sw=4 ts=4 sts=4: */
/**
 * phpMyAdmin sample configuration, you can use it as base for
 * manual configuration. For easier setup you can use setup/
 *
 * All directives are explained in documentation in the doc/ folder
 * or at <https://docs.phpmyadmin.net/>.
 *
 * @package PhpMyAdmin
 */
declare(strict_types=1);

/**
 * This is needed for cookie based authentication to encrypt password in
 * cookie. Needs to be 32 chars long.
 */
$cfg['blowfish_secret'] = ''; /* YOU MUST FILL IN THIS FOR COOKIE AUTH! */

/**
 * Servers configuration
 */
$i = 0;

/**
 * First server
 */
$i++;
/* Authentication type */
$cfg['Servers'][$i]['auth_type'] = 'config';
/* Server parameters */
$cfg['Servers'][$i]['host'] = 'localhost';
$cfg['Servers'][$i]['user'] = 'homestead';
$cfg['Servers'][$i]['password'] = 'secret';
$cfg['Servers'][$i]['compress'] = false;
$cfg['Servers'][$i]['AllowNoPassword'] = false;

/**
 * phpMyAdmin configuration storage settings.
 */

/* User used to manipulate with storage */
// $cfg['Servers'][$i]['controlhost'] = '';
// $cfg['Servers'][$i]['controlport'] = '';
// $cfg['Servers'][$i]['controluser'] = 'pma';
// $cfg['Servers'][$i]['controlpass'] = 'pmapass';

/* Storage database and tables */
// $cfg['Servers'][$i]['pmadb'] = 'phpmyadmin';
// $cfg['Servers'][$i]['bookmarktable'] = 'pma__bookmark';
// $cfg['Servers'][$i]['relation'] = 'pma__relation';
// $cfg['Servers'][$i]['table_info'] = 'pma__table_info';
// $cfg['Servers'][$i]['table_coords'] = 'pma__table_coords';
// $cfg['Servers'][$i]['pdf_pages'] = 'pma__pdf_pages';
// $cfg['Servers'][$i]['column_info'] = 'pma__column_info';
// $cfg['Servers'][$i]['history'] = 'pma__history';
// $cfg['Servers'][$i]['table_uiprefs'] = 'pma__table_uiprefs';
// $cfg['Servers'][$i]['tracking'] = 'pma__tracking';
// $cfg['Servers'][$i]['userconfig'] = 'pma__userconfig';
// $cfg['Servers'][$i]['recent'] = 'pma__recent';
// $cfg['Servers'][$i]['favorite'] = 'pma__favorite';
// $cfg['Servers'][$i]['users'] = 'pma__users';
// $cfg['Servers'][$i]['usergroups'] = 'pma__usergroups';
// $cfg['Servers'][$i]['navigationhiding'] = 'pma__navigationhiding';
// $cfg['Servers'][$i]['savedsearches'] = 'pma__savedsearches';
// $cfg['Servers'][$i]['central_columns'] = 'pma__central_columns';
// $cfg['Servers'][$i]['designer_settings'] = 'pma__designer_settings';
// $cfg['Servers'][$i]['export_templates'] = 'pma__export_templates';

/**
 * End of servers configuration
 */

/**
 * Directories for saving/loading files from server
 */
$cfg['UploadDir'] = '';
$cfg['SaveDir'] = '';

/**
 * Whether to display icons or text or both icons and text in table row
 * action segment. Value can be either of 'icons', 'text' or 'both'.
 * default = 'both'
 */
//$cfg['RowActionType'] = 'icons';

/**
 * Defines whether a user should be displayed a "show all (records)"
 * button in browse mode or not.
 * default = false
 */
//$cfg['ShowAll'] = true;

/**
 * Number of rows displayed when browsing a result set. If the result
 * set contains more rows, "Previous" and "Next".
 * Possible values: 25, 50, 100, 250, 500
 * default = 25
 */
//$cfg['MaxRows'] = 50;

/**
 * Disallow editing of binary fields
 * valid values are:
 *   false    allow editing
 *   'blob'   allow editing except for BLOB fields
 *   'noblob' disallow editing except for BLOB fields
 *   'all'    disallow editing
 * default = 'blob'
 */
//$cfg['ProtectBinary'] = false;

/**
 * Default language to use, if not browser-defined or user-defined
 * (you find all languages in the locale folder)
 * uncomment the desired line:
 * default = 'en'
 */
//$cfg['DefaultLang'] = 'en';
//$cfg['DefaultLang'] = 'de';

/**
 * How many columns should be used for table display of a database?
 * (a value larger than 1 results in some information being hidden)
 * default = 1
 */
//$cfg['PropertiesNumColumns'] = 2;

/**
 * Set to true if you want DB-based query history.If false, this utilizes
 * JS-routines to display query history (lost by window close)
 *
 * This requires configuration storage enabled, see above.
 * default = false
 */
//$cfg['QueryHistoryDB'] = true;

/**
 * When using DB-based query history, how many entries should be kept?
 * default = 25
 */
//$cfg['QueryHistoryMax'] = 100;

/**
 * Whether or not to query the user before sending the error report to
 * the phpMyAdmin team when a JavaScript error occurs
 *
 * Available options
 * ('ask' \\| 'always' \\| 'never')
 * default = 'ask'
 */
//$cfg['SendErrorReports'] = 'always';

/**
 * You can find more configuration options in the documentation
 * in the doc/ folder or at <https://docs.phpmyadmin.net/>.
 */
Mainly add or modify these three settings:
$cfg['Servers'][$i]['auth_type'] = 'config';
$cfg['Servers'][$i]['user'] = 'homestead';
$cfg['Servers'][$i]['password'] = 'secret';
The default Homestead MySQL username and password are
homestead/secret.
Configure Homestead Settings
Open the ~/Homestead/Homestead.yaml configuration file with an editor.
---
ip: "192.168.10.10"
memory: 2048
cpus: 2
provider: virtualbox

authorize: ~/.ssh/id_rsa.pub

keys:
    - ~/.ssh/id_rsa

folders:
    - map: ~/Projects/Web
      to: /home/vagrant/code
    - map: ~/Homestead/phpMyAdmin
      to: /home/vagrant/phpMyAdmin

sites:
    - map: phpMyAdmin.test
      to: /home/vagrant/phpMyAdmin

databases:
    - homestead

features:
    - mysql: false
    - mariadb: false
    - postgresql: false
    - ohmyzsh: false
    - webdriver: false

#services:
#    - enabled:
#        - "postgresql@12-main"
#    - disabled:
#        - "postgresql@11-main"

# ports:
#     - send: 50000
#       to: 5000
#     - send: 7777
#       to: 777
#       protocol: udp
-
IP: The default is192.168.10.10, which can be changed or left as is. -
provider: The default isvirtualbox. Change this only if you use Parallels. -
Add
folders: -
map: ~/Homestead/phpMyAdmin
to: /home/vagrant/phpMyAdmin -
Add
sites: -
map: phpMyAdmin.test
to: /home/vagrant/phpMyAdmin
If you already have a Laravel project, you can add it here as well. For example, I keep my projects under ~/Projects/Web, so I added the directory mapping accordingly.
sites sets up local virtual domains and directory mappings. We also need to modify the local Hosts file to add domain-to-virtual machine mappings:
Use Finder -> Go -> /etc/hosts to locate the hosts file; copy it to the desktop (since it cannot be edited directly)
The domain name can be freely customized since only your local machine can access it.
Open the copied Hosts file and add site entries:
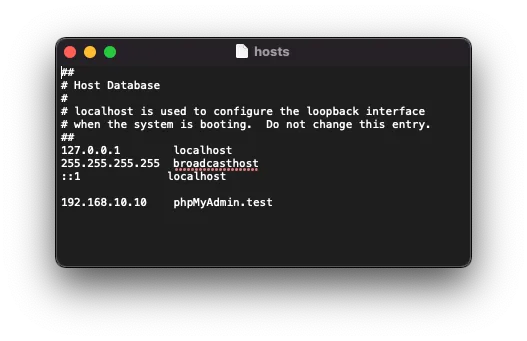
<homestead IP address> <domain name>
After editing, save the file, then cut and paste it back into /etc/hosts to overwrite it.
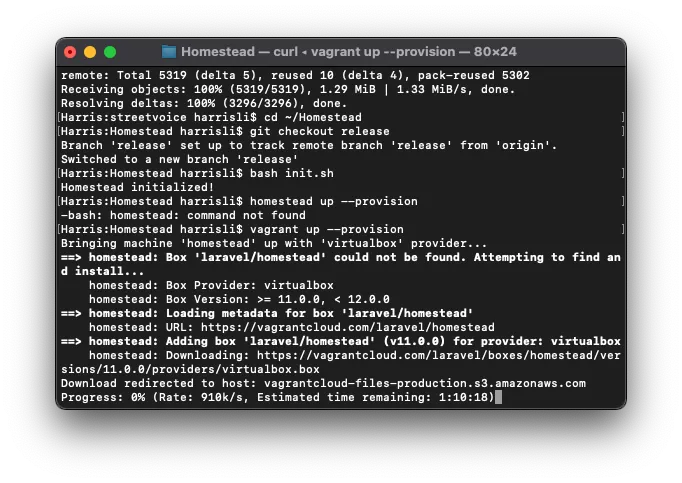
Installing & Starting the Homestead Virtual Machine
cd ~/Homestead
vagrant up --provision
⚠️Please note that if you don’t add
--provision, the configuration file won’t update, and visiting the URL will show ano input file specifiederror.
The first time you start, it requires downloading the Homestead environment package, which takes a longer time.
If no specific errors appear, it means the startup was successful. You can enter:
vagrant ssh
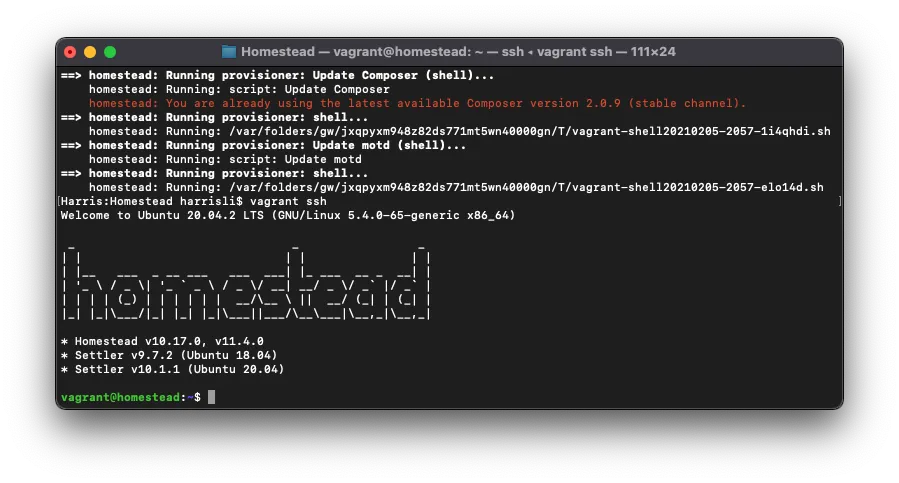
ssh into the virtual machine.
Check if phpMyAdmin is Connected Correctly
Go to http://phpmyadmin.test/ to check if it opens correctly.
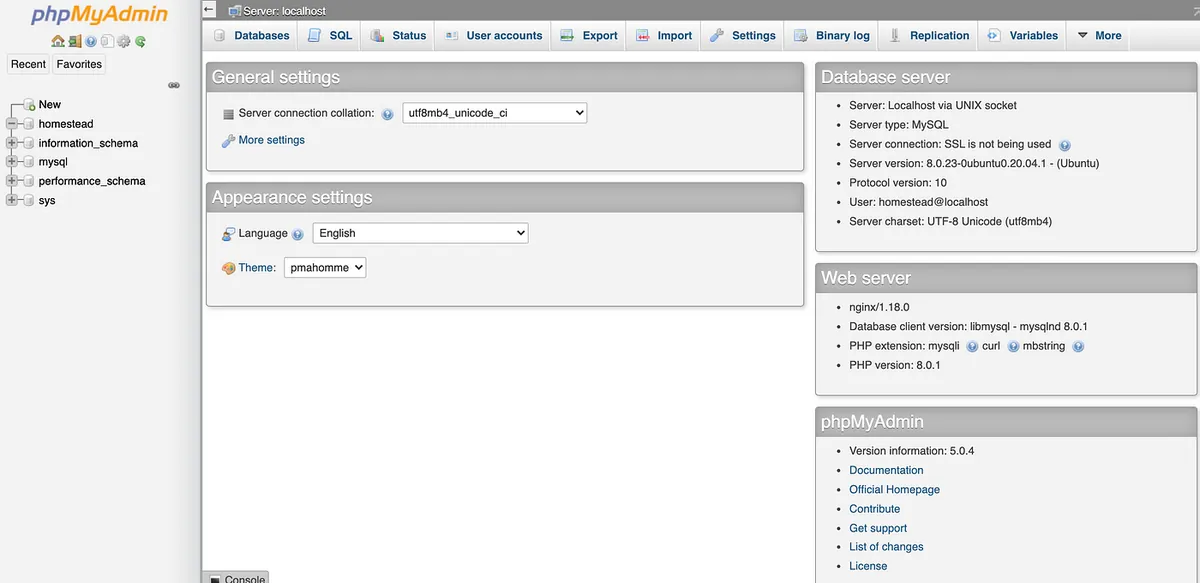
Success! Whenever we need to work with the database, we can directly come here to make changes.
Create a New Laravel Project
If you already have an existing project, at this point you can run it locally from the browser. If not, here is how to create a new Laravel project.
~/Homestead
vagrant ssh
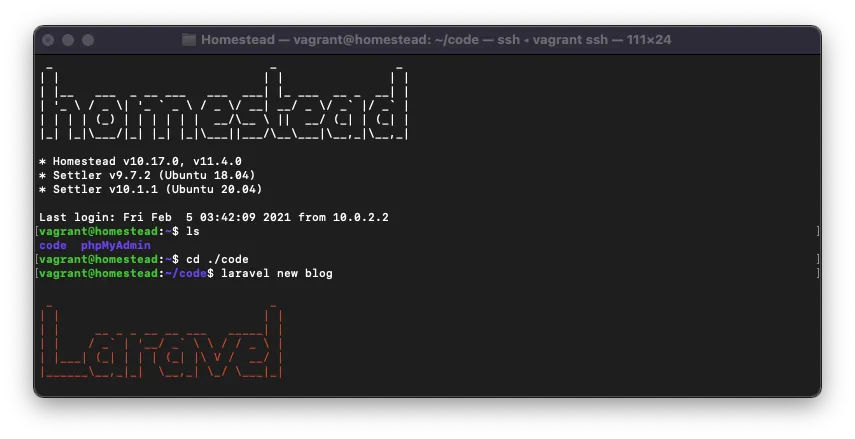
vagrant ssh into the VM, then cd to the code directory:
cd ./code
Run laravel new project_name to create a Laravel project (using blog as an example):
laravel new blog
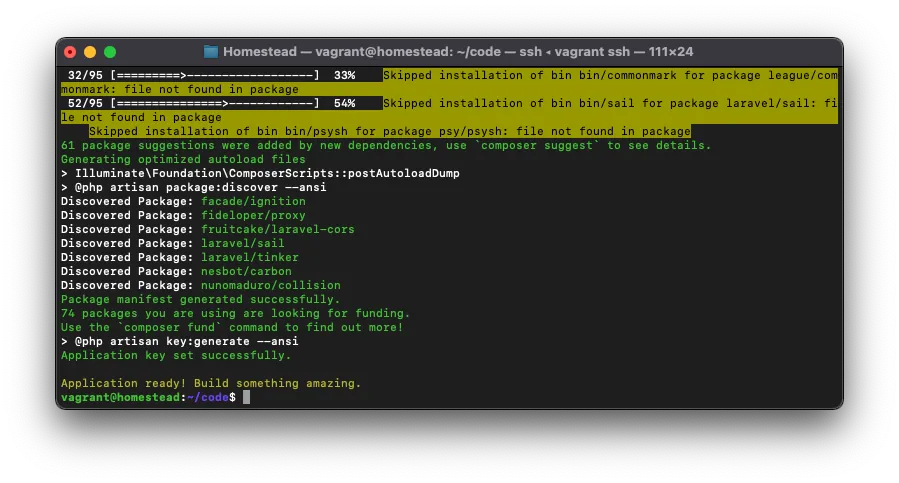
blog project created successfully!
Next, we need to configure the project to access the test domain on the local machine:
Now, open and edit the ~/Homestead/Homestead.yaml configuration file.
Add a new entry in sites:
sites:
  - map: myblog.test
  to: /home/vagrant/code/blog/public
Remember to add the corresponding entries to the hosts file as well:
192.168.10.10. myblog.test
Finally, restart homestead:
vagrant reload --provision
Enter http://myblog.test in the browser to test if it is correctly set up and running:
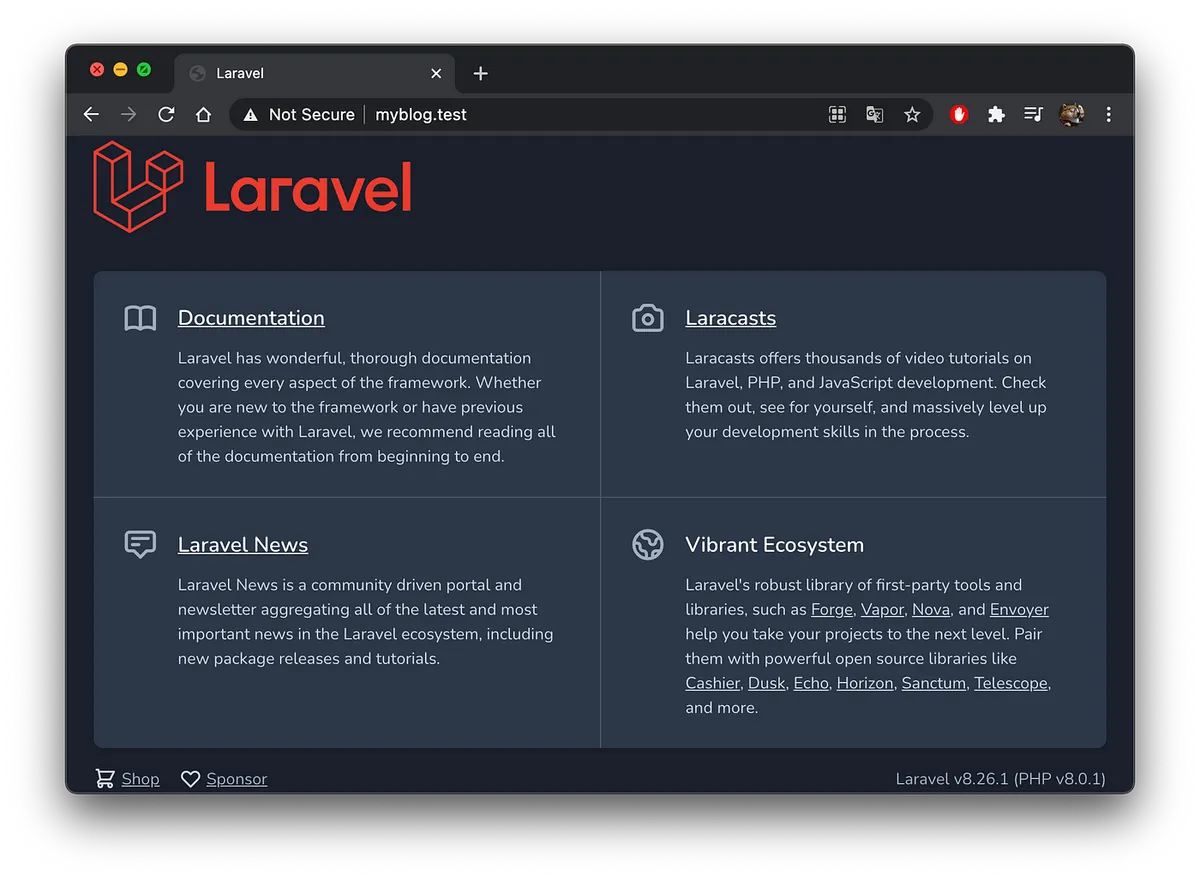
Done!
Supplement — Installing Composer on Mac
Although Homestead includes Composer, since some PHP projects may not use Laravel, it is still necessary to install Composer on the local machine.

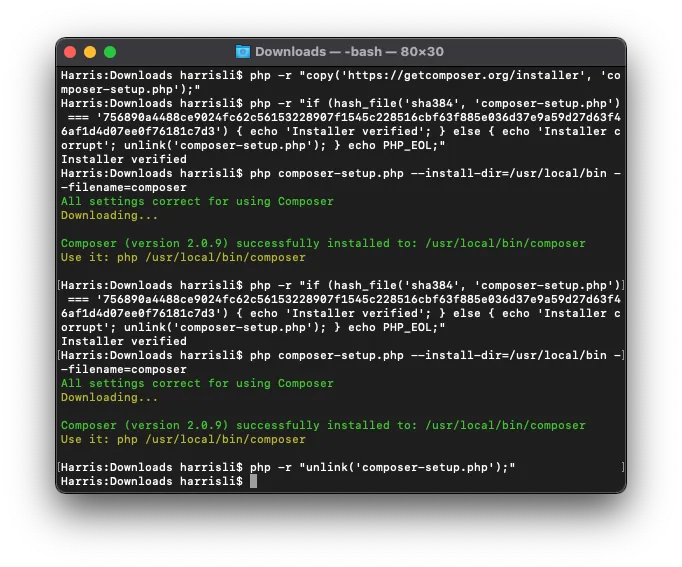
Copy the commands in the download section and replace php composer-setup.php with:
php composer-setup.php - install-dir=/usr/local/bin - filename=composer
Composer v2.0.9 example:
php -r "copy('https://getcomposer.org/installer', 'composer-setup.php');"
php -r "if (hash_file('sha384', 'composer-setup.php') === '756890a4488ce9024fc62c56153228907f1545c228516cbf63f885e036d37e9a59d27d63f46af1d4d07ee0f76181c7d3') { echo 'Installer verified'; } else { echo 'Installer corrupt'; unlink('composer-setup.php'); } echo PHP_EOL;"
php composer-setup.php --install-dir=/usr/local/bin --filename=composer
php -r "unlink('composer-setup.php');"
Then enter the commands in the terminal one by one.
⚠️Please note do not directly copy and use the above example, as the hash check code changes with Composer version updates.
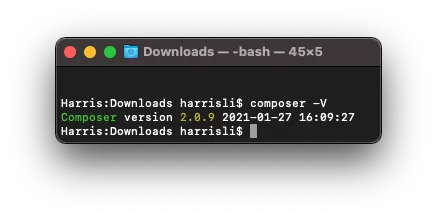
Enter composer -V to check the version and confirm successful installation!
Comments